


At a glance
Quick summary
- Six things to do: I’ll walk you through six specific things to do for getting started with creating a business website
- Done in order: Make sure you follow these steps in the exact order they’re written!
- Free worksheet: To help you stay organized, I’ve created a free worksheet — My Business Website Setup — for you to download
- Summary of tasks: I compiled a summary of all tasks found throughout this post in a single spot!
Feeling overwhelmed by the idea of creating a website?
If you’ve got a side-hustle, or you’re planning to start one, creating a website is essential.
But, I hear from Creatives (photographers, artists, florists, bakers, consultants, wedding planners, etc.) all the time that their biggest challenge in finally creating that website is just knowing how to start.
So, I’m here to help!
In this post, I’ll walk you through the exact steps I take whenever I set up a new website for a client. Follow them, in order, and you’ll be well on your way to getting that business site online!
Remember! Follow these steps in order!
Each step relies on the things you do in the previous steps. So, be sure you’re working in order.
Summary of tasks
You’ll find tasks flagged in blue boxes throughout this post, like this:
Task X of Y
I’m a sample task!
Here’s a quick summary of all of them in one place for you to review at a glance:
- Enter your selected Business Name into your My Business Website Setup worksheet
- Click here to review my four guidelines for picking a domain
- Brainstorm 5-10 Domain ideas. Enter them into your My Business Website Setup worksheet.
- When you confirm that both your Domain and Social Usernames are available, enter
Yes!into the fields in your My Business Website Setup worksheet. - Create a free Google Account to use as your Registration Account. Enter the @gmail address into your My Business Website Setup worksheet.
- Set up Multi-factor Authentication for your Registration Account. Enter
Yes!into the field in your My Business Website Setup worksheet. - Purchase your Domain via Google Domains. Enter the details into the Domain section in your My Business Website Setup worksheet.
- Register all relevant Social Media accounts (Facebook, Instagram, Twitter, etc.) at one time. Enter the details into the Social Media section in your My Business Website Setup worksheet.
The first 6 things you should do, in order, when creating a business website
Expand each section to view the steps!
1 • Download my free My Business Website Setup worksheet
I’ve created a worksheet that accompanies this post:
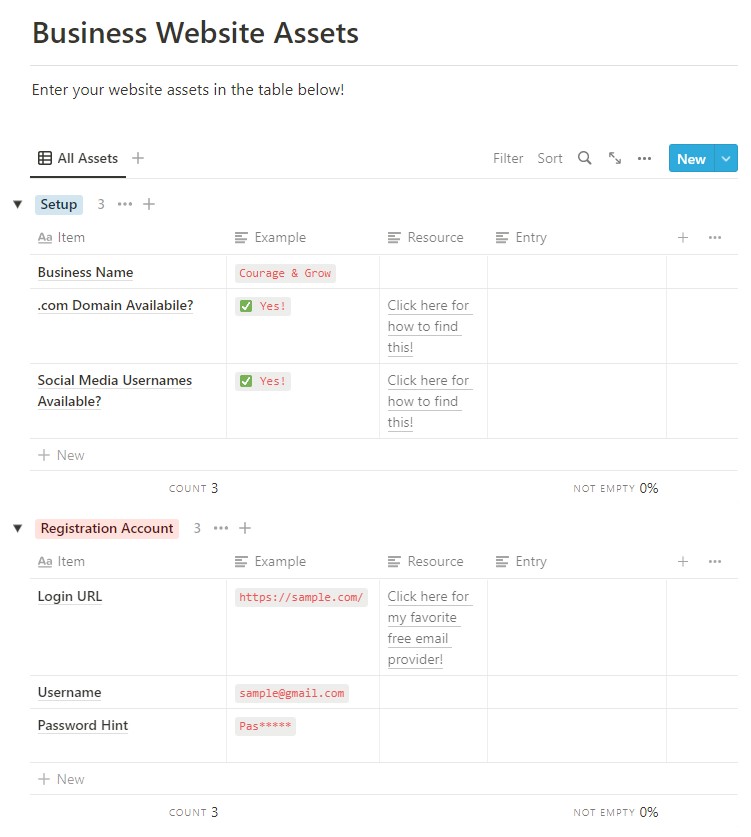
As you work through the steps below, I’ll have you enter the information into this worksheet.
This way, it’s really simple to follow everything in order. And, when you’re done, you’ll have everything in one place!
Also, it’s totally free!
Just click the button below to download it now.
2 • Settle on your Business Name
The first thing you need to have in place is the name for your business.
Everything else you create will flow from this name, so I recommend investing the time to get it right.
If you know your Business Name already, enter it into your My Business Website Setup worksheet.
If not, and you need a bit of help deciding on one, check out this article from Forbes on selecting a name.
Task 1 of 8
Enter your selected Business Name into your My Business Website Setup worksheet
Example
Business Name: ACME Web Design
3 • Select a Domain
Next, you need to pick the Domain for your website:
What is a ‘Domain’?
Your website’s Domain (also called a ‘Domain Name’) is the link that folks type into their browser to get to your website.
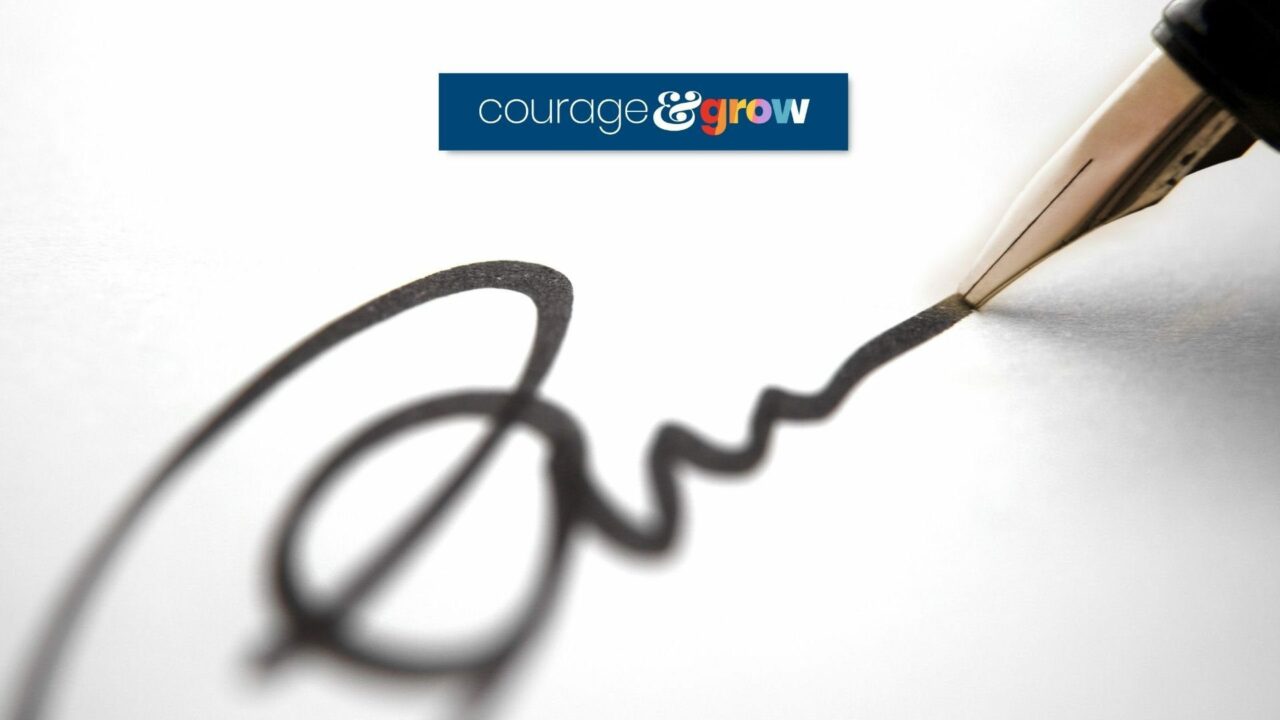
Examples include google.com, craigslist.com, courageandgrow.com, etc.
Review my guidelines for picking a Domain
In my post The 4 essential elements you need to create a business website, I cover four guidelines for selecting a Domain for your business.
Jump over to that post and review those guidelines!
Make a list of Domain ideas to test
Now, head to your My Business Website Setup worksheet, find the Domain Ideas field, and start entering some Domains you’d like to test.
Pro Tip
In the Entry field, you can insert a new line after each Domain idea by hitting SHIFT+ENTER on your keyboard.  Screenshot of worksheet showing how to use SHIFTENTER to insert new lines
I recommend brainstorming 5-10 potential Domains you can test (being sure to abide by the guidelines you reviewed in the previous step).
If you need some help coming up with ideas, check out Shopify’s handy Domain Name Generator.
Task 3 of 8
Brainstorm 5-10 Domain ideas. Enter them into your My Business Website Setup worksheet
Test Domain and Social Username availability
Finally, it’s time to confirm that your domain is available!
I also recommend checking to see if matching Social Media Usernames (e.g., Facebook, Twitter, Instagram, etc.) are also available. Ideally, you’ll find a Domain that’s also free on all of your top Social platforms.
Pro Tip
It’s totally normal to spend quite a bit of time searching for the right Domain. I spent hours testing dozens of Domain ideas before finding courageandgrow.com. Be patient and keep trying until you find the right one!
Remember, getting this right up front will save you lots of time later. It’s worth the time investment.
In my post How to check Domain Name and Social Media Username availability with one quick search, I cover a handy tool for checking everything at once!
As I mentioned in the above Pro Tip, it’s possible that this search period will take a while. It’s normal. And, it’s totally worth the investment of time.
To me, getting it right is significantly better than doing it quickly!
Task 4 of 8
When you confirm that both your Domain and Social Usernames are available, enter Yes! into the fields in your My Business Website Setup worksheet
Example
Domain: acmewebdesignus.com
4 • Sign up for a ‘Registration Account’
This is a technique that I’ve figured out over years of working with websites, and it helps me keep things both organized and secure.
In my business (as well as for my clients), I distinguish between two types of accounts:
Account Type 1 • Private accounts
These are accounts that I have registered for my business.
Examples include:
- My Hosting account
- My Domain account
- My analytics accounts
- My social media accounts
Account Type 2 • Public-facing accounts
These are accounts that clients and site visitors can see and interact with.
Examples include:
- hello@courageandgrow.com
- sitecare@courageandgrow.com
- anthony@courageandgrow.com
Set up a private ‘Registration Account’
To register all of the Private Accounts, I set up a single, central account I refer to as a Registration Account. (So named because it’s the account I use to register all of my other accounts.)
Here are some key elements about my Registration Account:
1. Free service: I create a free Google Account for this. I stick with a free account (instead of a paid Google Workspace account) for this so that if I ever suspend my paid accounts, my Registration Account will still work.
2. Can be different from your Domain: When you set this up, it’s okay if it’s different from your domain. In fact, from a security standpoint, it’s preferable for it to be slightly different! (e.g., if your Domain is acmewebdesignus.com, the Registration Account could be acmewebdesign@gmail.com)
3. Used to register all other accounts: Once set up, you can then use this @gmail address to sign up for all of your other accounts.
4. Set a high-quality password: Because this password is the key that can unlock literally everything else in your business, it’s absolutely critical to set up a high-quality password. I have a quick guide for doing just that in my post I just set up my WordPress site. What 7 steps can I take to keep it secure?
5. This password must be unique: I know lots of (most) folks reuse the same passwords across multiple accounts. That’s not a great idea overall, but I get it. In this case though, make absolutely sure that the password you set for your Registration Account is unlike any other password you create. This will help keep things safe if one of your public accounts is breached!
6. Enable Multi-factor Authentication: Also essential here is enabling Multi-factor Authentication on your Registration Account. This is another essential security step you should take to protect your business.
7. Share it with nobody: Except to use it for registering other accounts, you should avoid ever giving out your Registration Account to anyone, for any reason. Making it public gives away half of the combination to the safe (the other half being your password).
Task 5 of 8
a. Create a free Google Account to use as your Registration Account
b. Enter the @gmail address into your My Business Website Setup worksheet
Task 6 of 8
a. Set up Multi-factor Authentication for your Registration Account.
b. Enter Yes! into the field in your My Business Website Setup worksheet.
Example:
Registration account: acmewebdesign@gmail.com
5 • Purchase your Domain
Now’s the time to purchase your Domain!
Even if you don’t build your website on it right away, purchasing it will still allow you to lock it in for the future.
I recommend purchasing your Domain via Google Domains, and not through your Hosting provider.
Task 7 of 8
a. Purchase your Domain via Google Domains.
b. Enter the details into the Domain section in your My Business Website Setup worksheet.
6 • Register your Social Media accounts in one batch
Finally, I recommend registering all of your Social Media accounts right now, as a single batch.
Even if you don’t use them right away, it’s ideal to lock them in while you know they’re available.
At minimum, start with Facebook, Instagram, Twitter and YouTube. Also consider Pinterest, TikTok, and LinkedIn.
Task 8 of 8
a. Register all relevant Social Media accounts (Facebook, Instagram, Twitter, etc.) at one time.
b. Enter the details into the Social Media section in your My Business Website Setup worksheet.
Done! Now what?
The next step on your journey is to set up Hosting.
I recommend you jump there and keep going!
Others? Questions?
Any thoughts or questions? Anything with which you disagree? Anything I missed?

0 Comments