


- These WordPress troubleshooting tips will solve most common WordPress problems
- Problems include not being able to get to your site, getting random error messages, things changing, disappearing, or appearing unexpectedly, among others.
- Try them in order
Having trouble with WordPress?
If your website is currently fucked up, chances are one of these 6 WordPress troubleshooting tips will unfuck it.
For best results, I recommend completing these steps in order!
6 WordPress troubleshooting tips
Make sure your site is still online
WordPress Troubleshooting // 1 of 6
If you can’t get to anything on your site, that’s when you should try this.
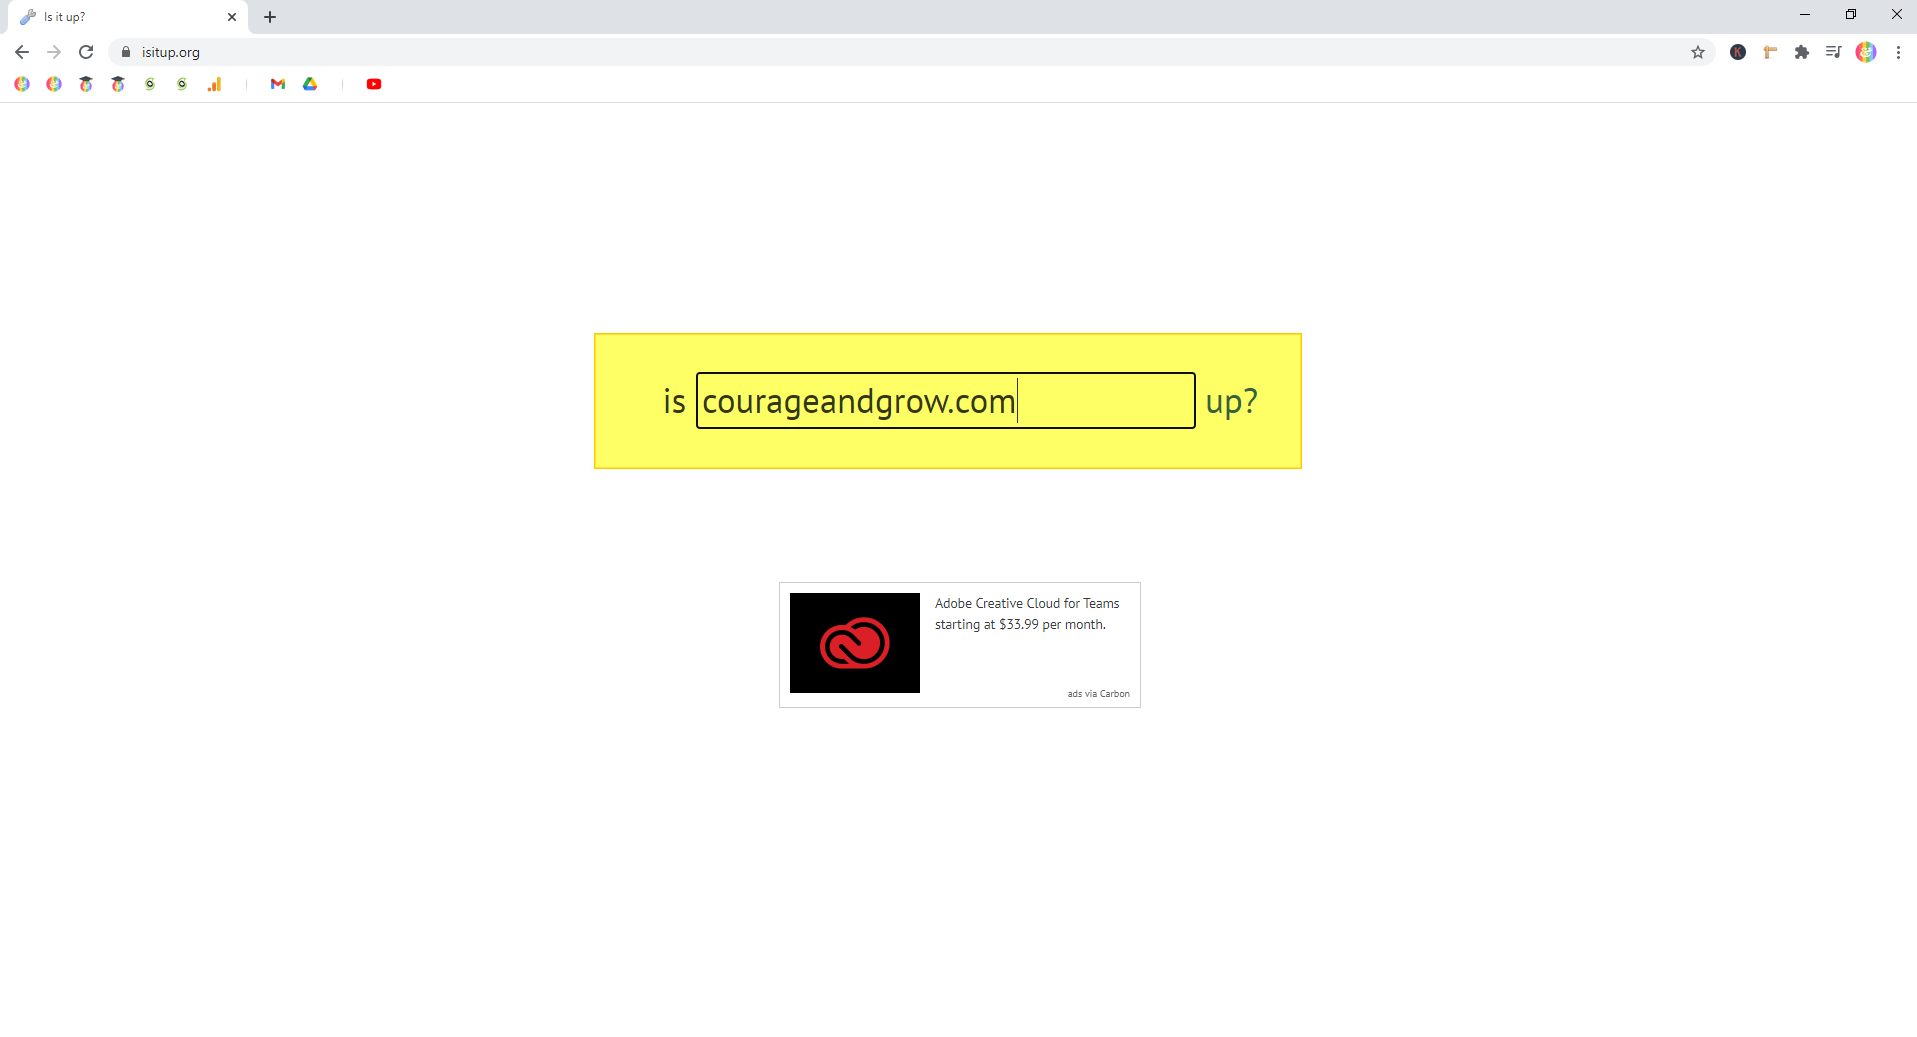
Step 1.1 — Browse to isitup.org
In your browser, head to isitup.org
Step 1.2 — Enter your site’s Domain
In the box, enter your domain (your site URL). Then hit Enter on your keyboard.
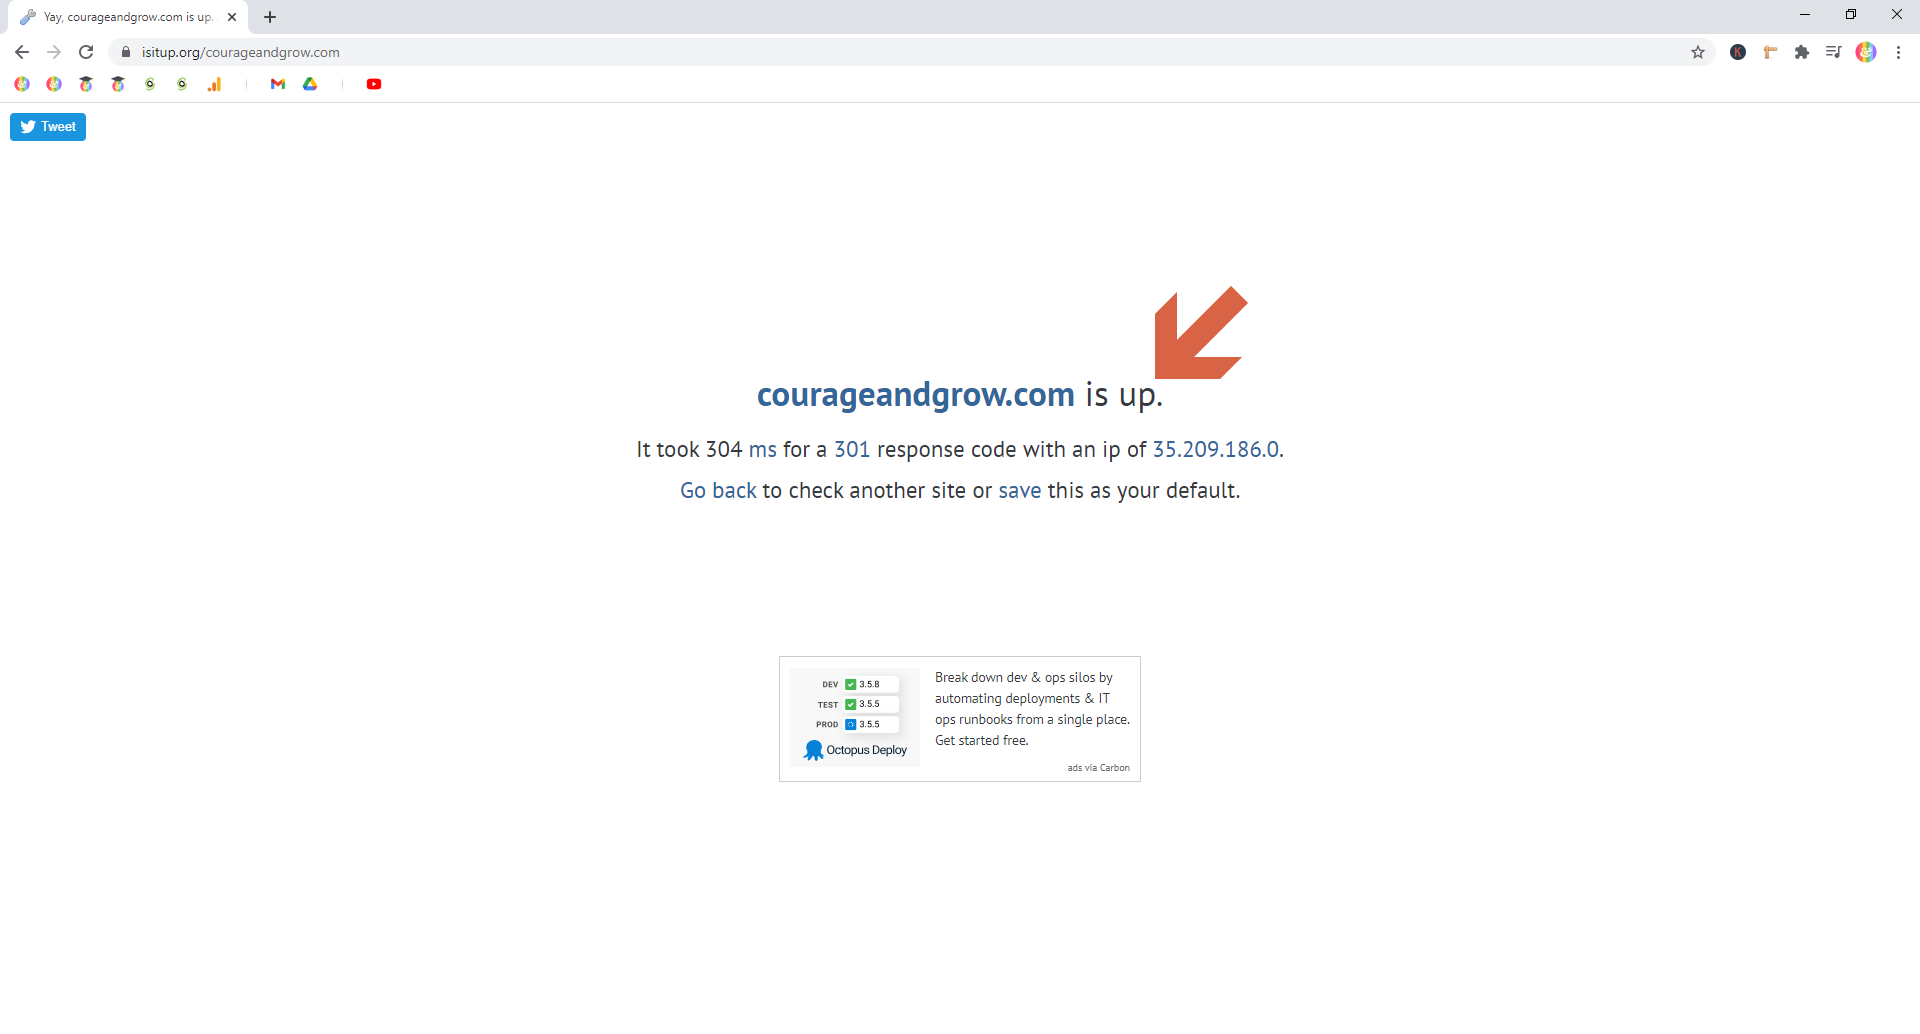
Step 1.3 — Confirm your site’s status
If your site is functioning normally, it’ll say yoursite.com is up:
But, if your site is experiencing an outage, you’ll see yoursite.com seems to be down:
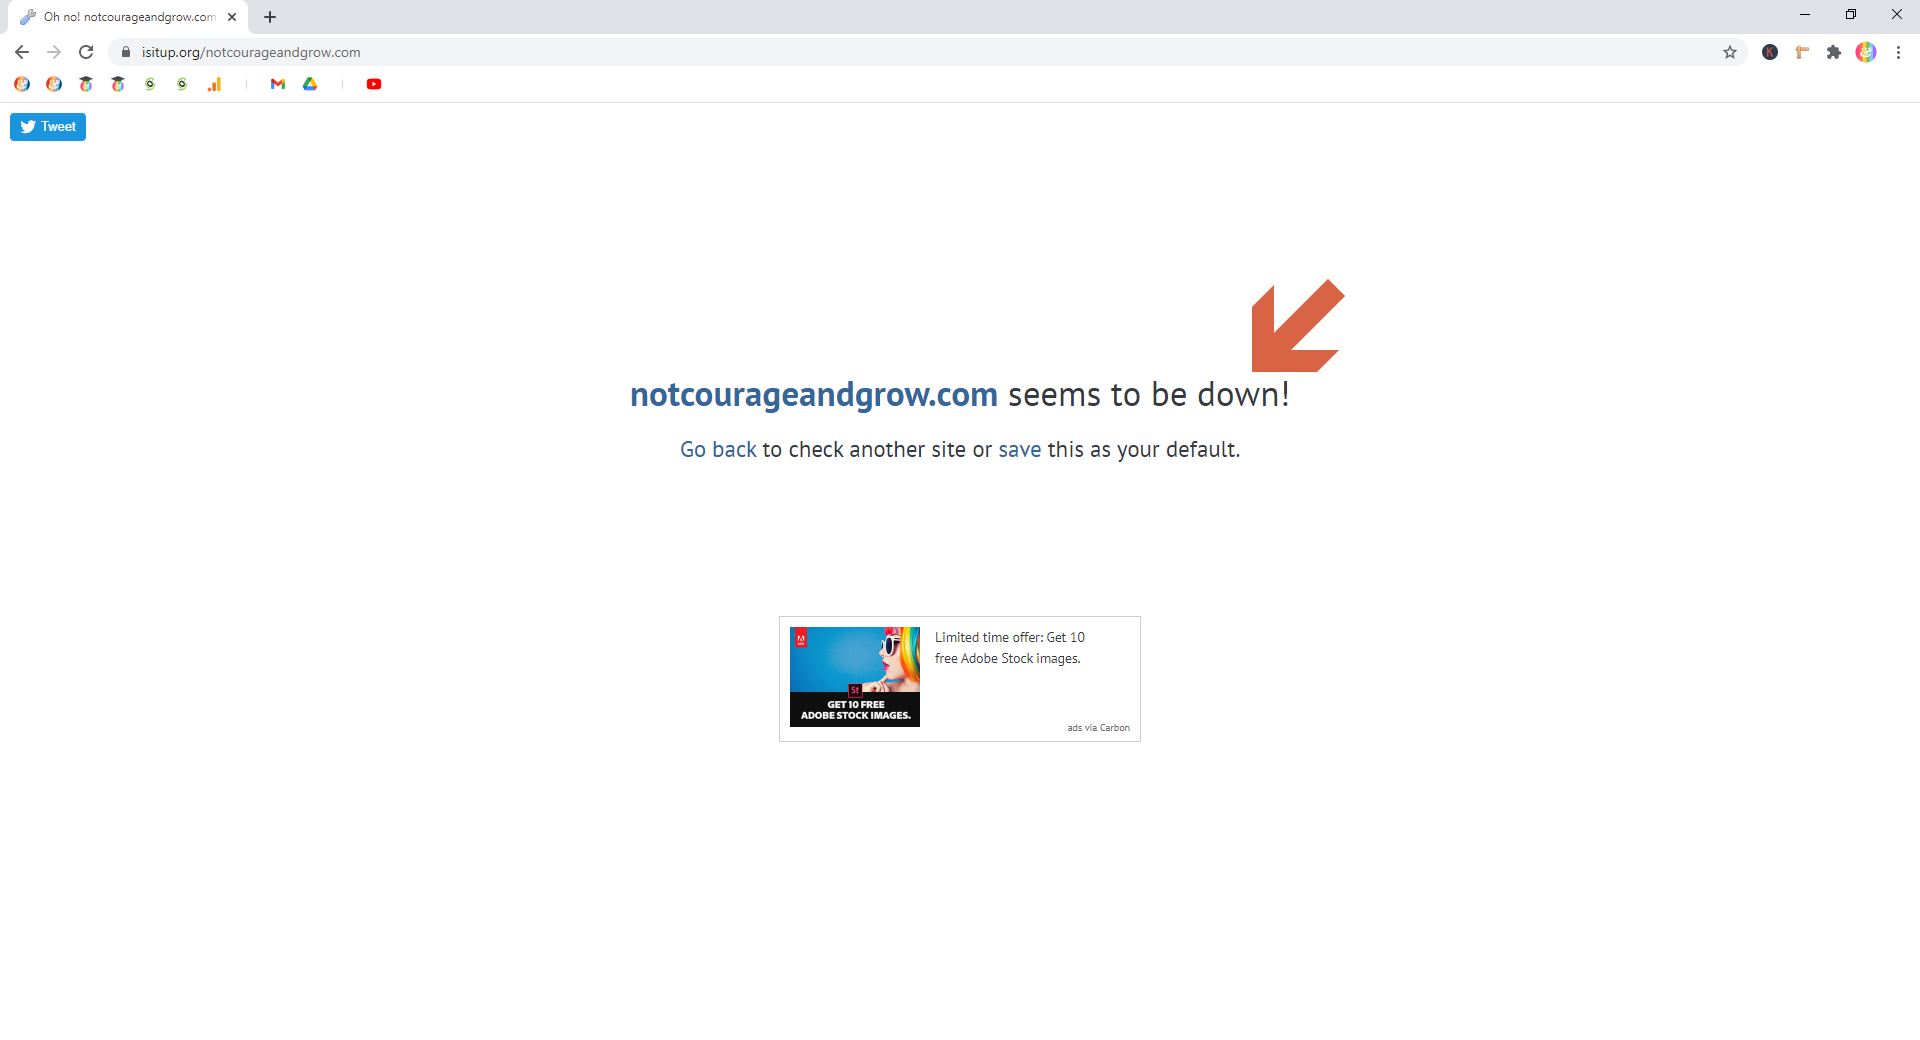
If your site is down, then your best bet is to contact your Hosting provider. They’ll be able to give you a status report on your site, and possibly an ETA for when it’ll be back online.
If your site is up, then that means there’s not a root infrastructure problem, and you should continue to the next step.
Before continuing, take a backup first!
The rest of these WordPress troubleshooting tips make changes to your live site. Therefore, it’s incredibly important that you take a backup before continuing.
There are quite a few ways to take a backup of your site.
Some Hosting providers (my favorite, SiteGround, is a good example) have features which allow you to take quick backups. I’d suggest logging into your Hosting and checking there first.
Otherwise, a backup plugin will do the trick. I use the Pro version of Duplicator to keep my site backed up, but the Free version of Duplicator from the WordPress Repository will work too!
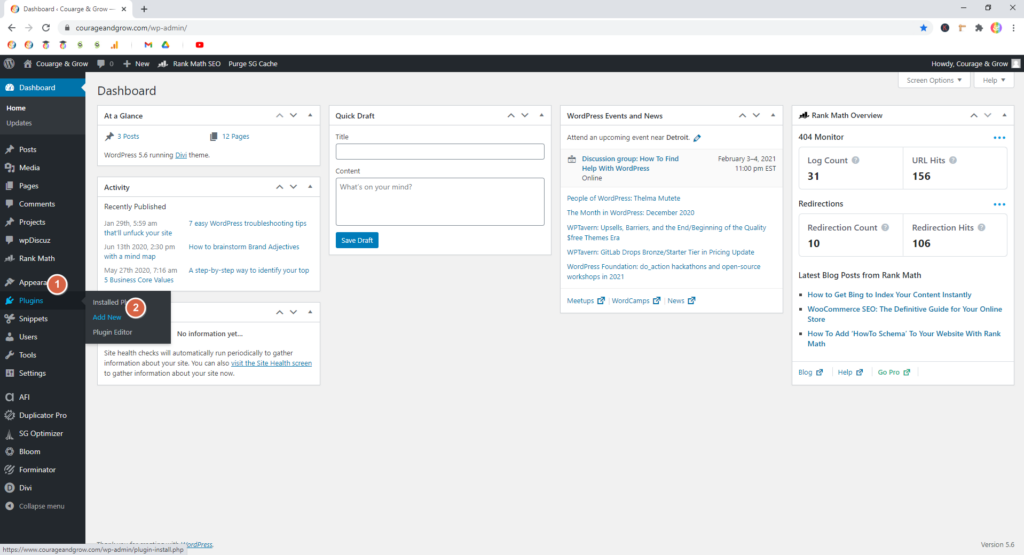
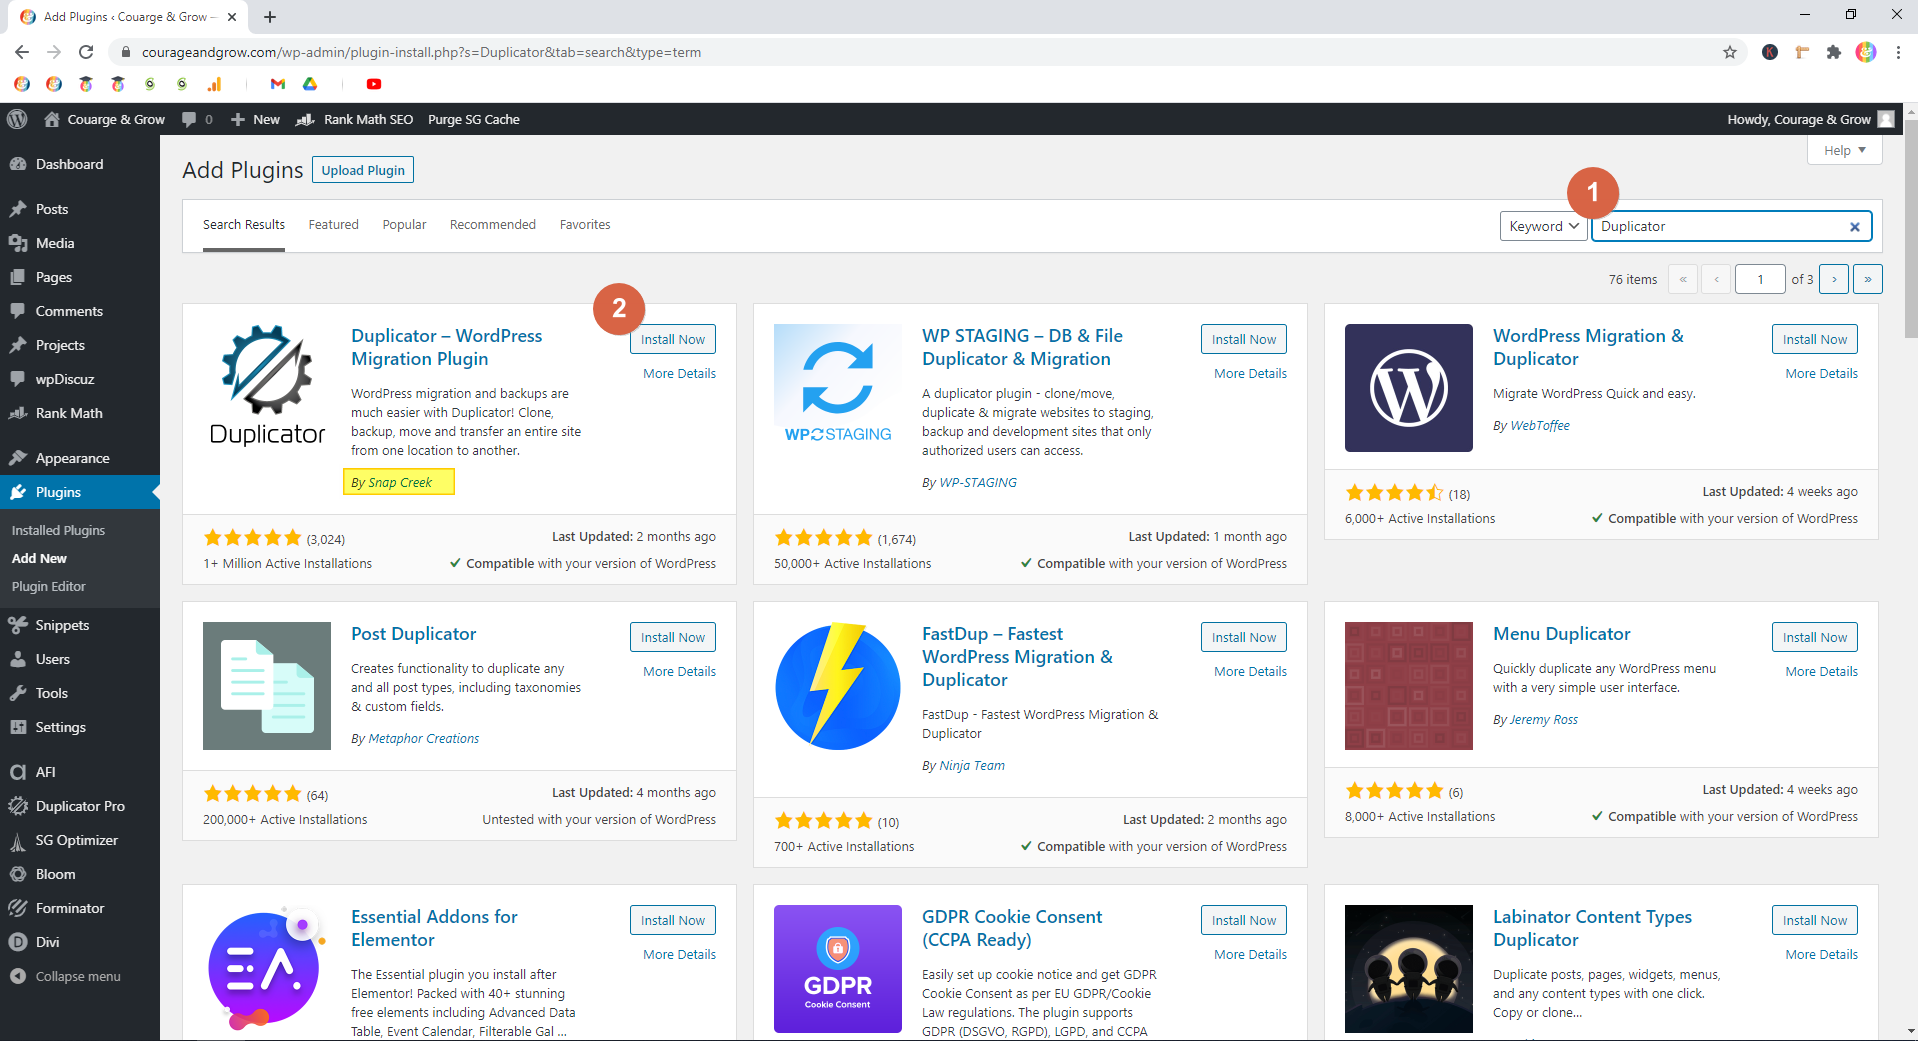
Backup 1 — Go to the Plugin Repository
In your WordPress Dashboard, on the left side, go to Plugins > Add New
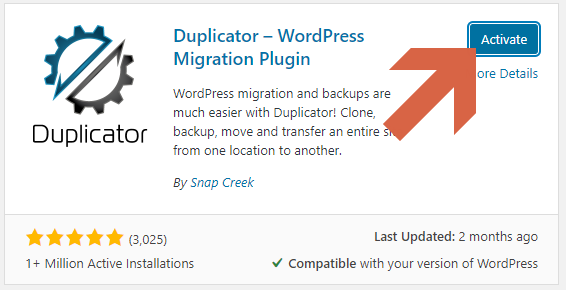
Backup 2 — Install and activate Duplicator
In the search box, type Duplicator. Then, click Install Now on the Duplicator plugin that pops up (should be By Snap Creek)
Once installed, click Activate
Backup 3 — Take a backup of your site
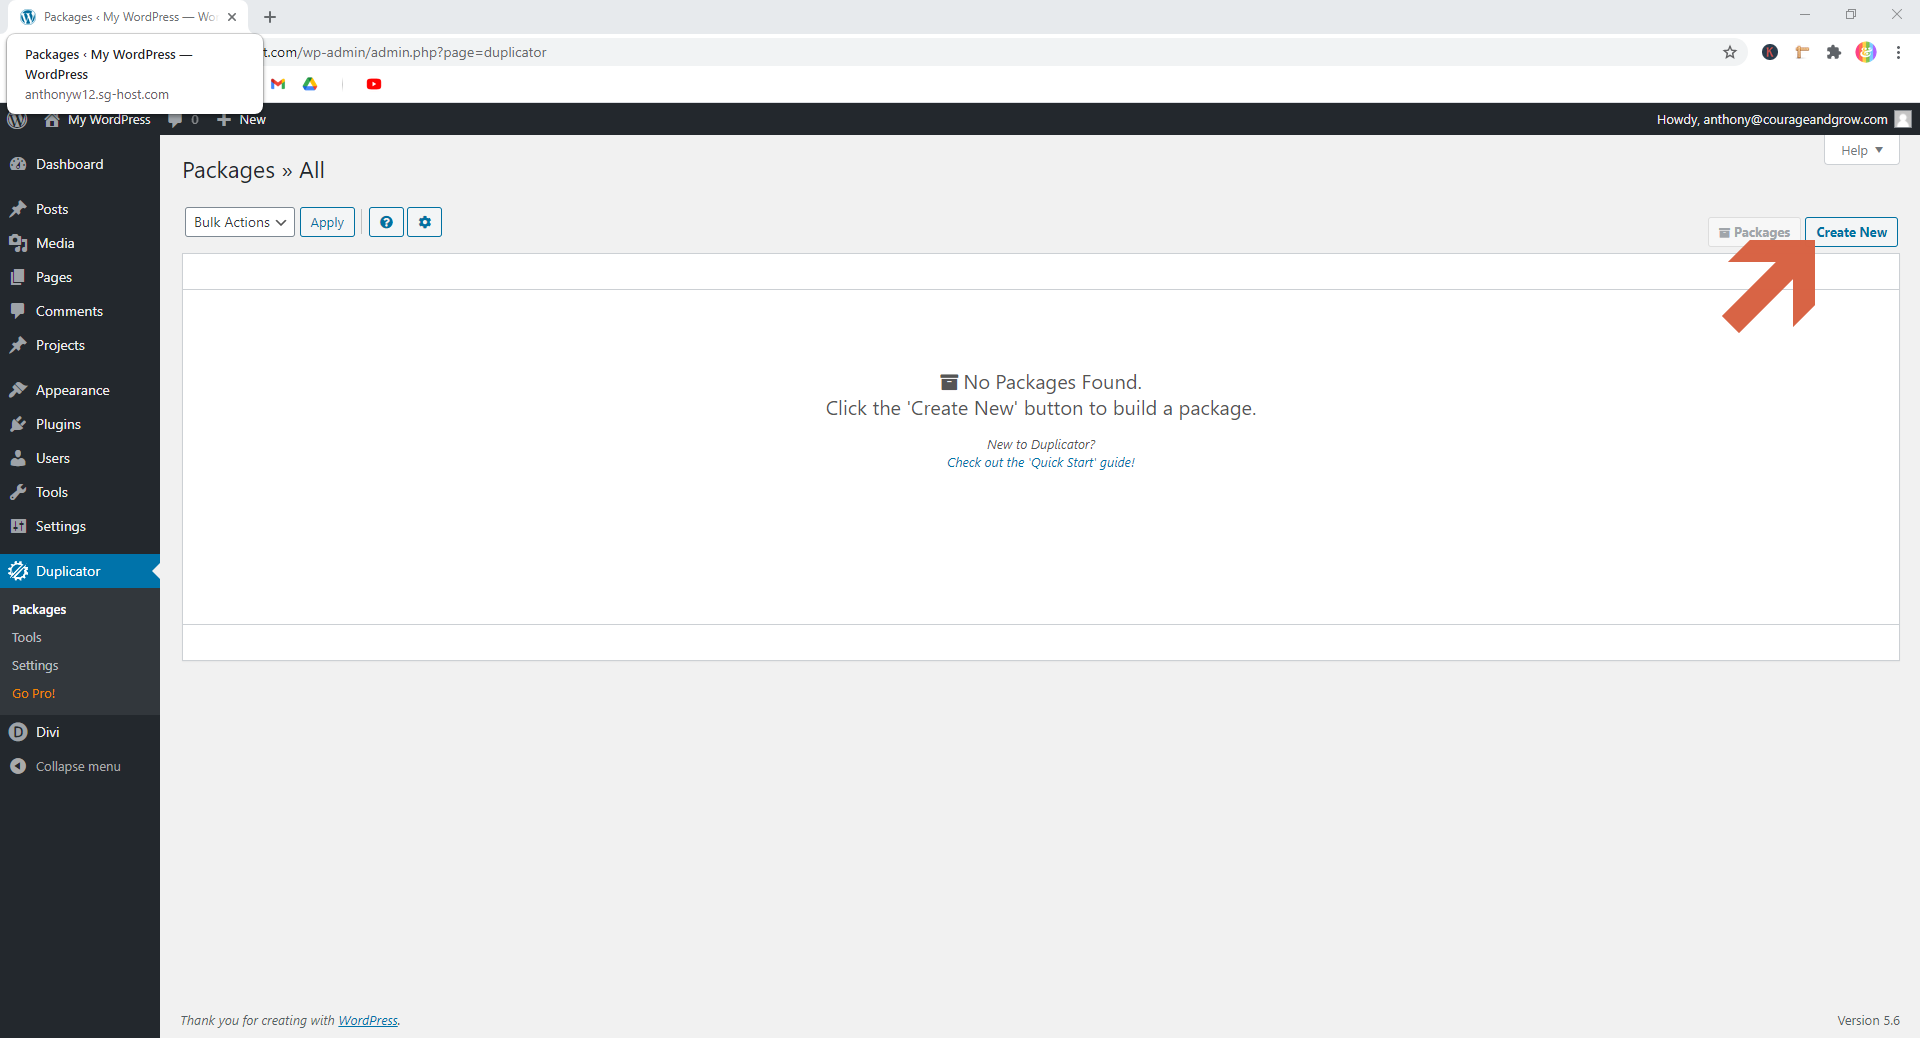
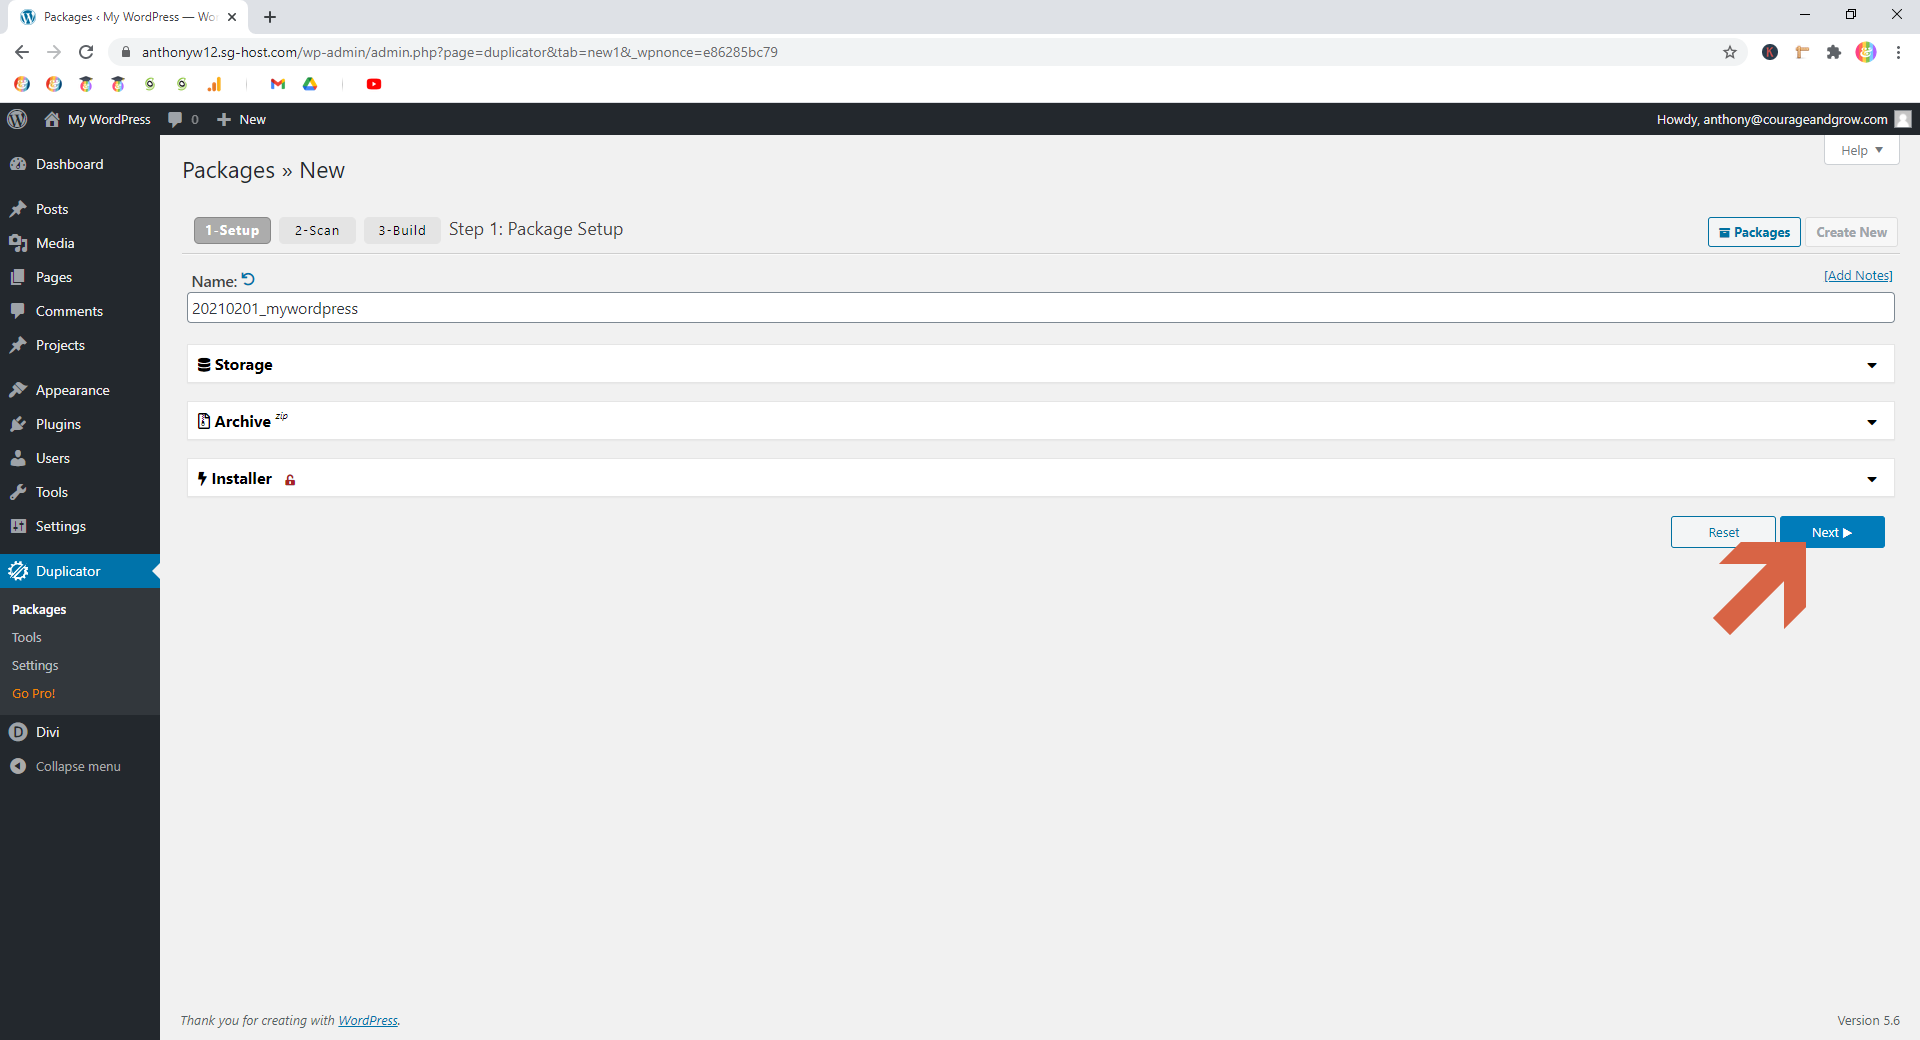
In the Dashboard, go to Duplicator > Packages
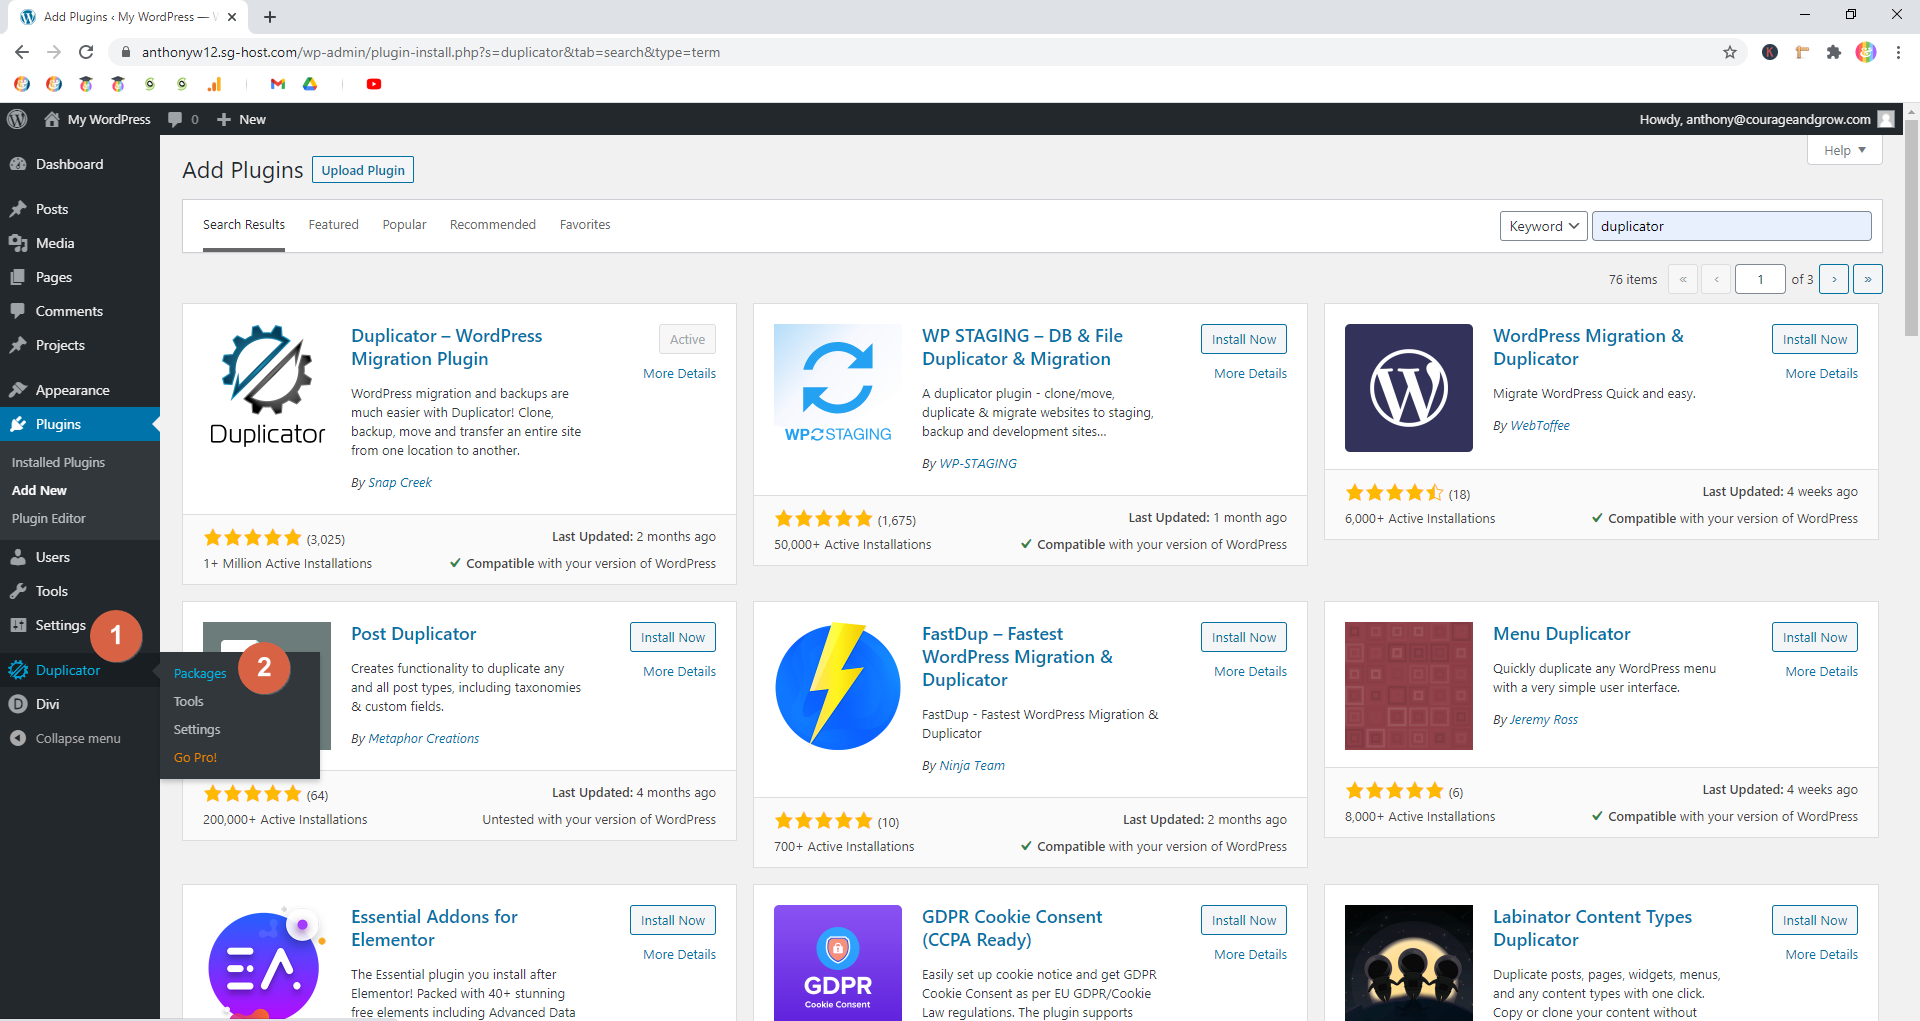
Click Create New
Leave the default settings. Click Next.
Allow the scan to run. It shouldn’t take too long (10-30 seconds), but that will depend on the size of your site.
The scan may flag some issues. In most cases, you should be good to simple proceed to the next step.
Click Build
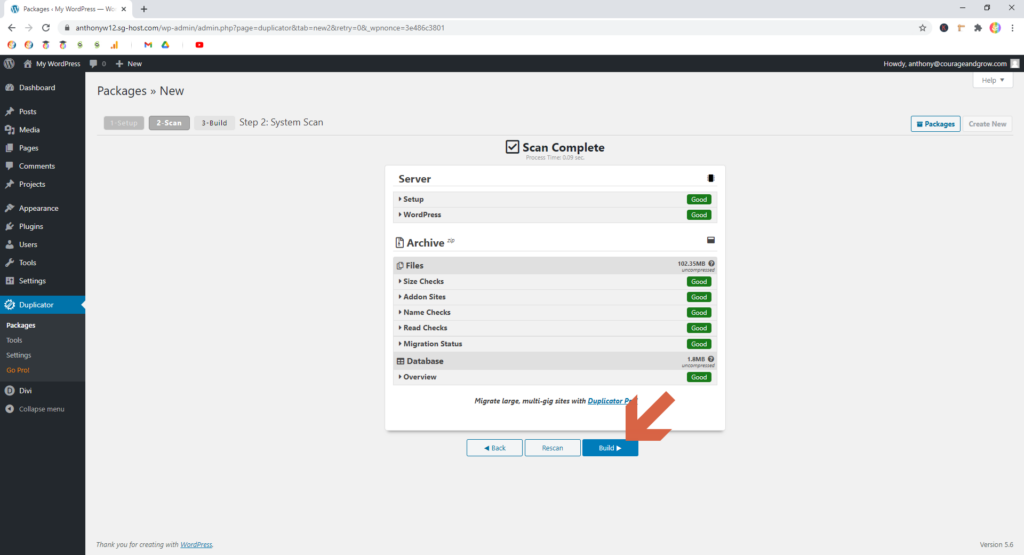
Once you do, your site will start creating the backup.
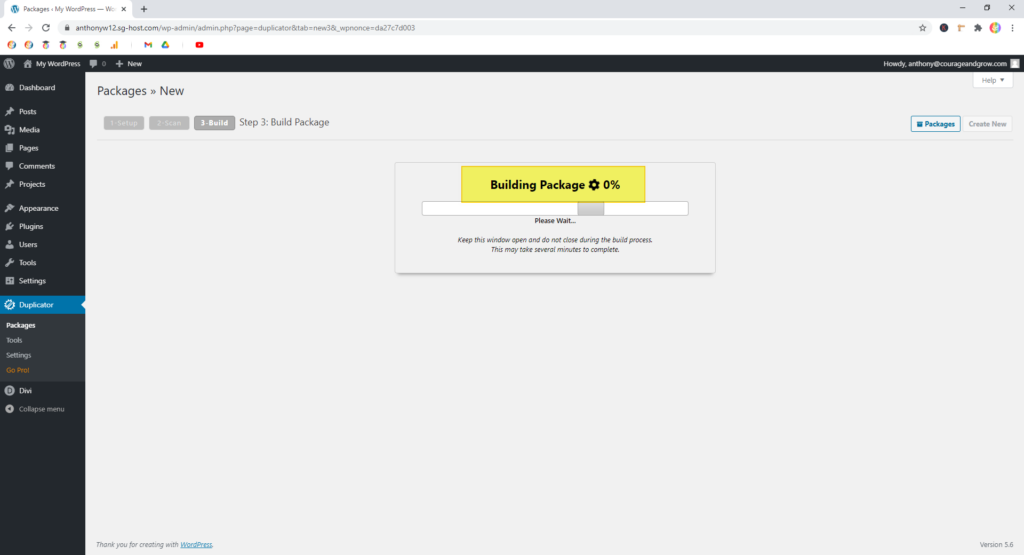
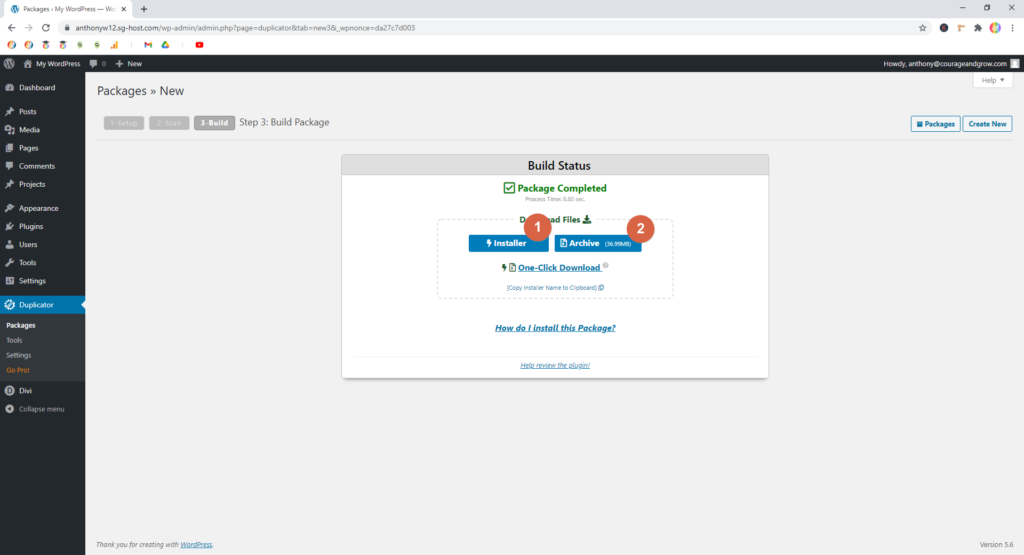
Once done, you’ll see Package Completed, and there will be two buttons below it.
Click each one to download the file.
⚠ Be sure you save these files in a place you can find them! In case something goes wrong, you’ll need them to restore your site.
Once the files are downloaded, and you’ve stored them in a safe place, it’s time to start troubleshooting! 0815
Backup 4 (Optional) — Take automatic backups
If you’d like to set up scheduled backups, check out my post below!
Install all updates
WordPress Troubleshooting // 2 of 6
Outstanding WordPress, plugin, and theme updates can be a source of problems. So, let’s make sure everything on your site is fully up to date.
Taking the time to complete this step can often save a lot of time spent working other WordPress troubleshooting tips down the line.
Step 2.1 — Confirm updates are available
Head to your WordPress Dashboard and click the Updates notification in the sidebar.
⚠ Note: This notification only appears when updates are available. If no updates, you won’t see it!

Step 2.2 — Install all WordPress, plugin, and theme updates
⚠ Note: Items will only appear in each section if updates are available.
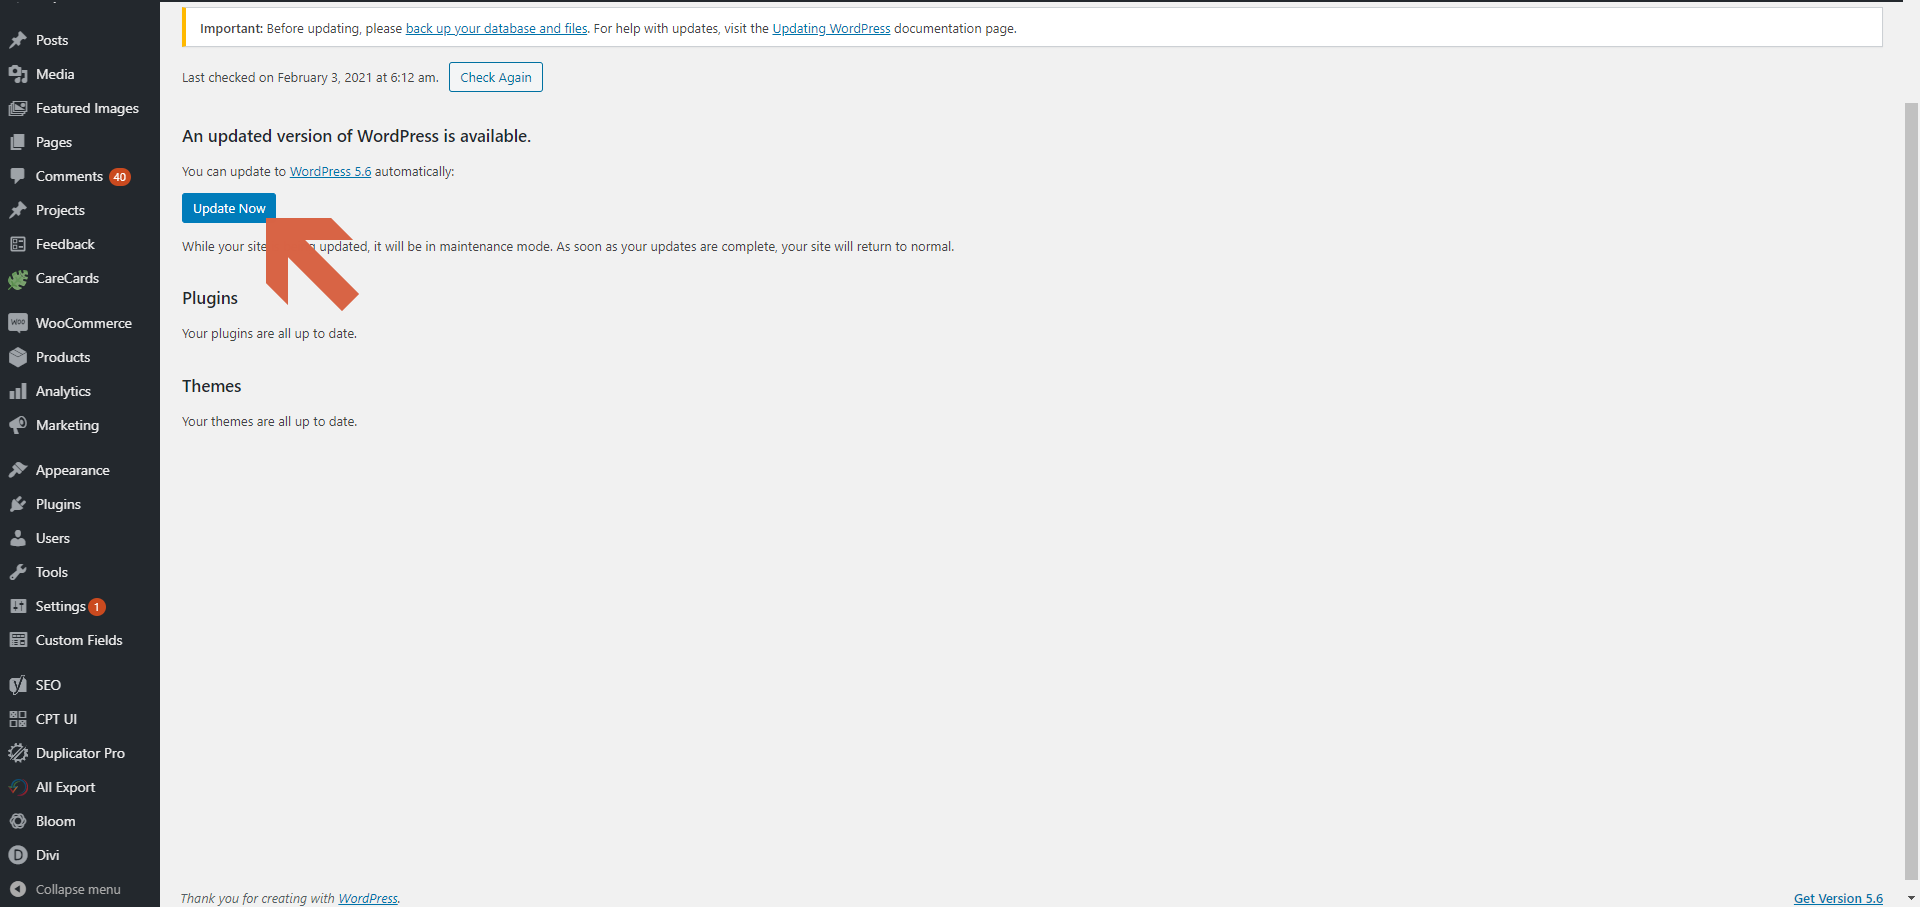
If a full WordPress update is ready, you’ll see An updated version of WordPress is available.
Click Update Now (only after taking a full backup of your site).
Once done, you may be redirected to another page. To get back to the updates page, click the Updates link in the sidebar again.
Then, scroll down to the Plugins section and click the checkbox next to Select All and click Update Plugins
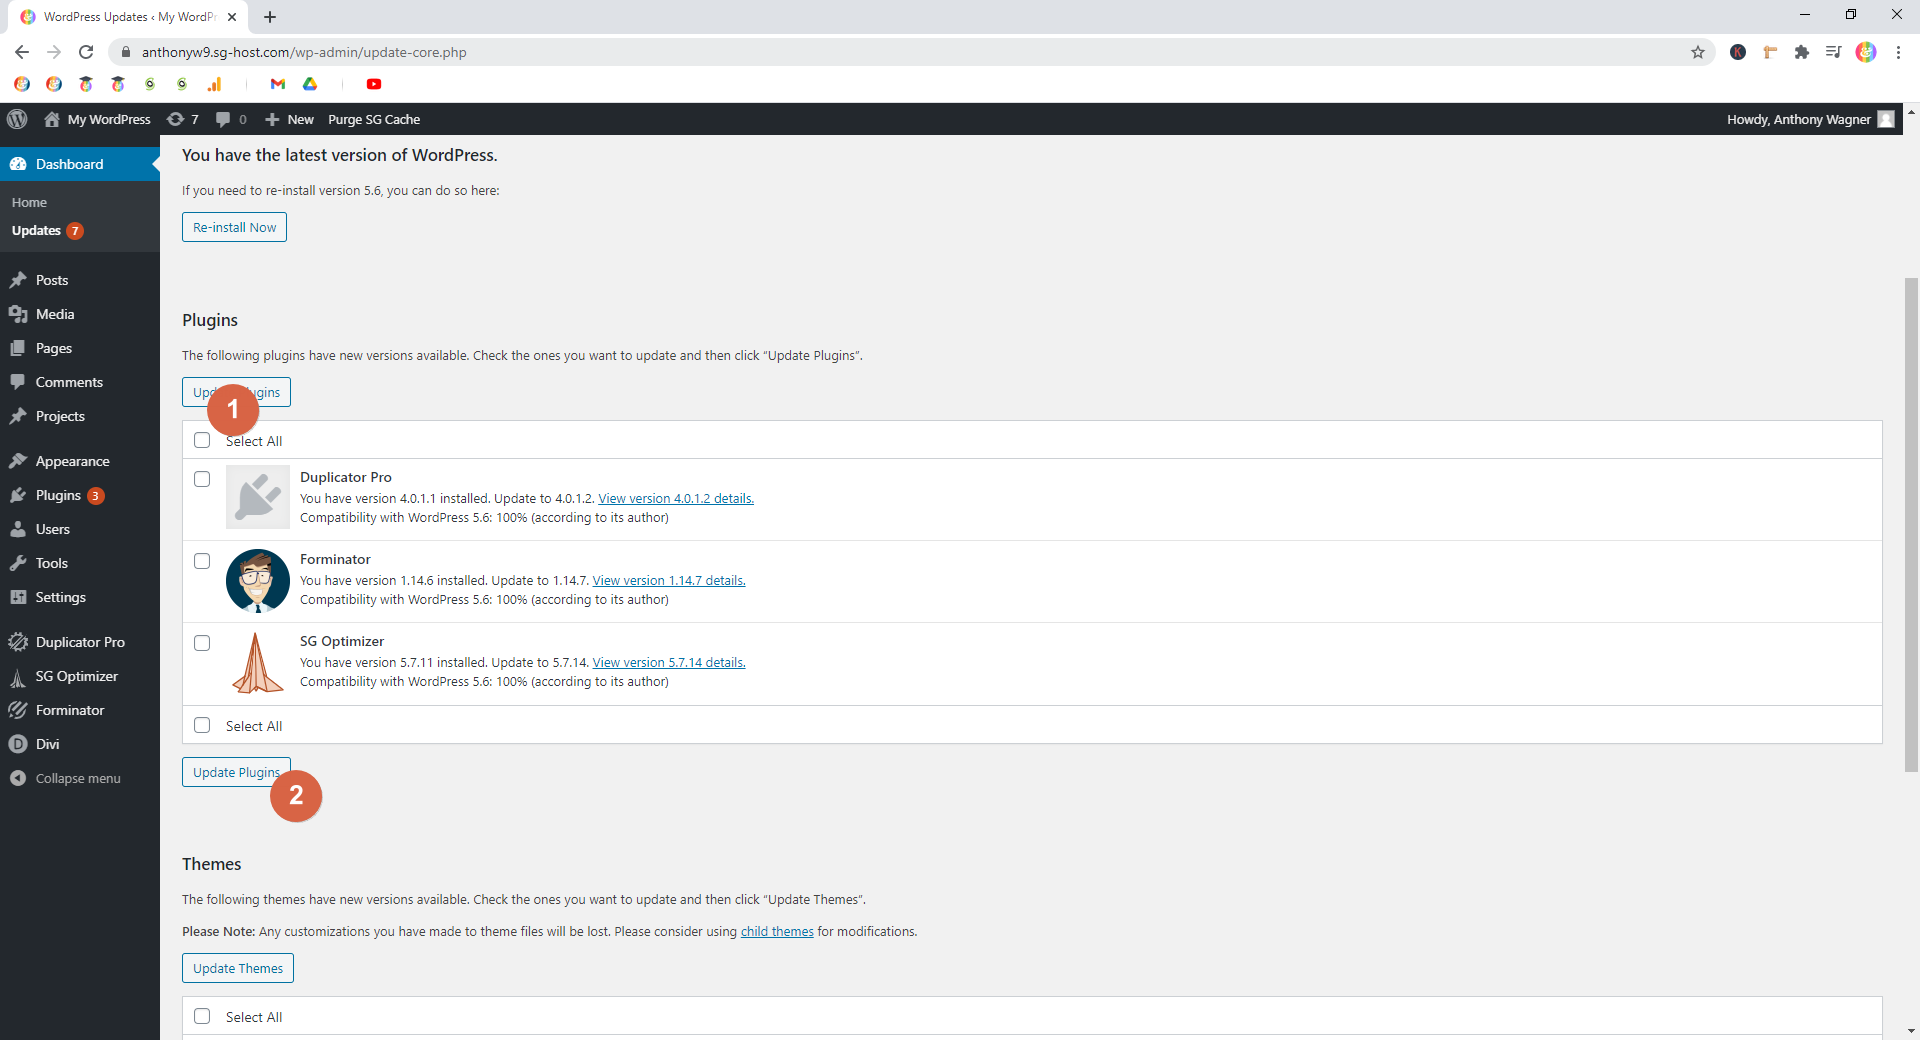
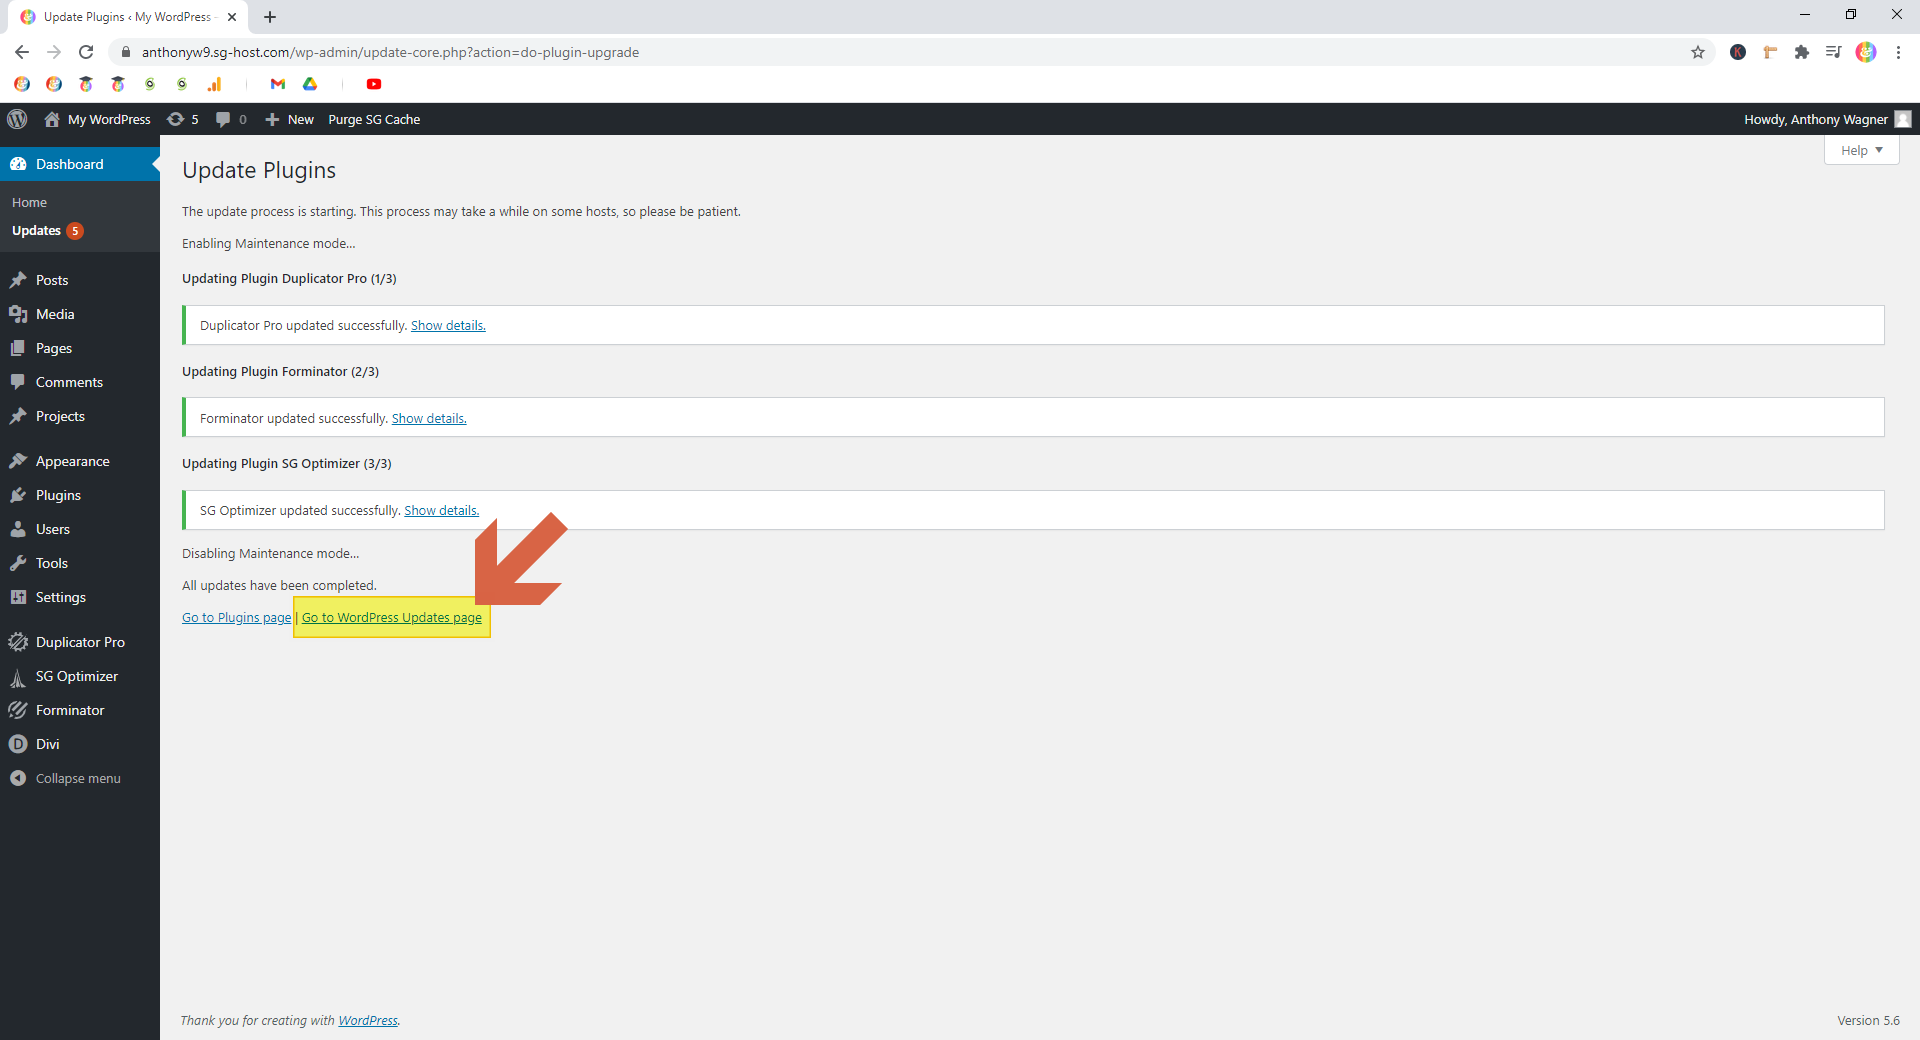
This will take somewhere between 10 and 30 seconds.
Once it’s done, click Go to WordPress Updates page.
Finally, scroll to the Themes section, click the checkbox next to Select All, and then click Update Themes.
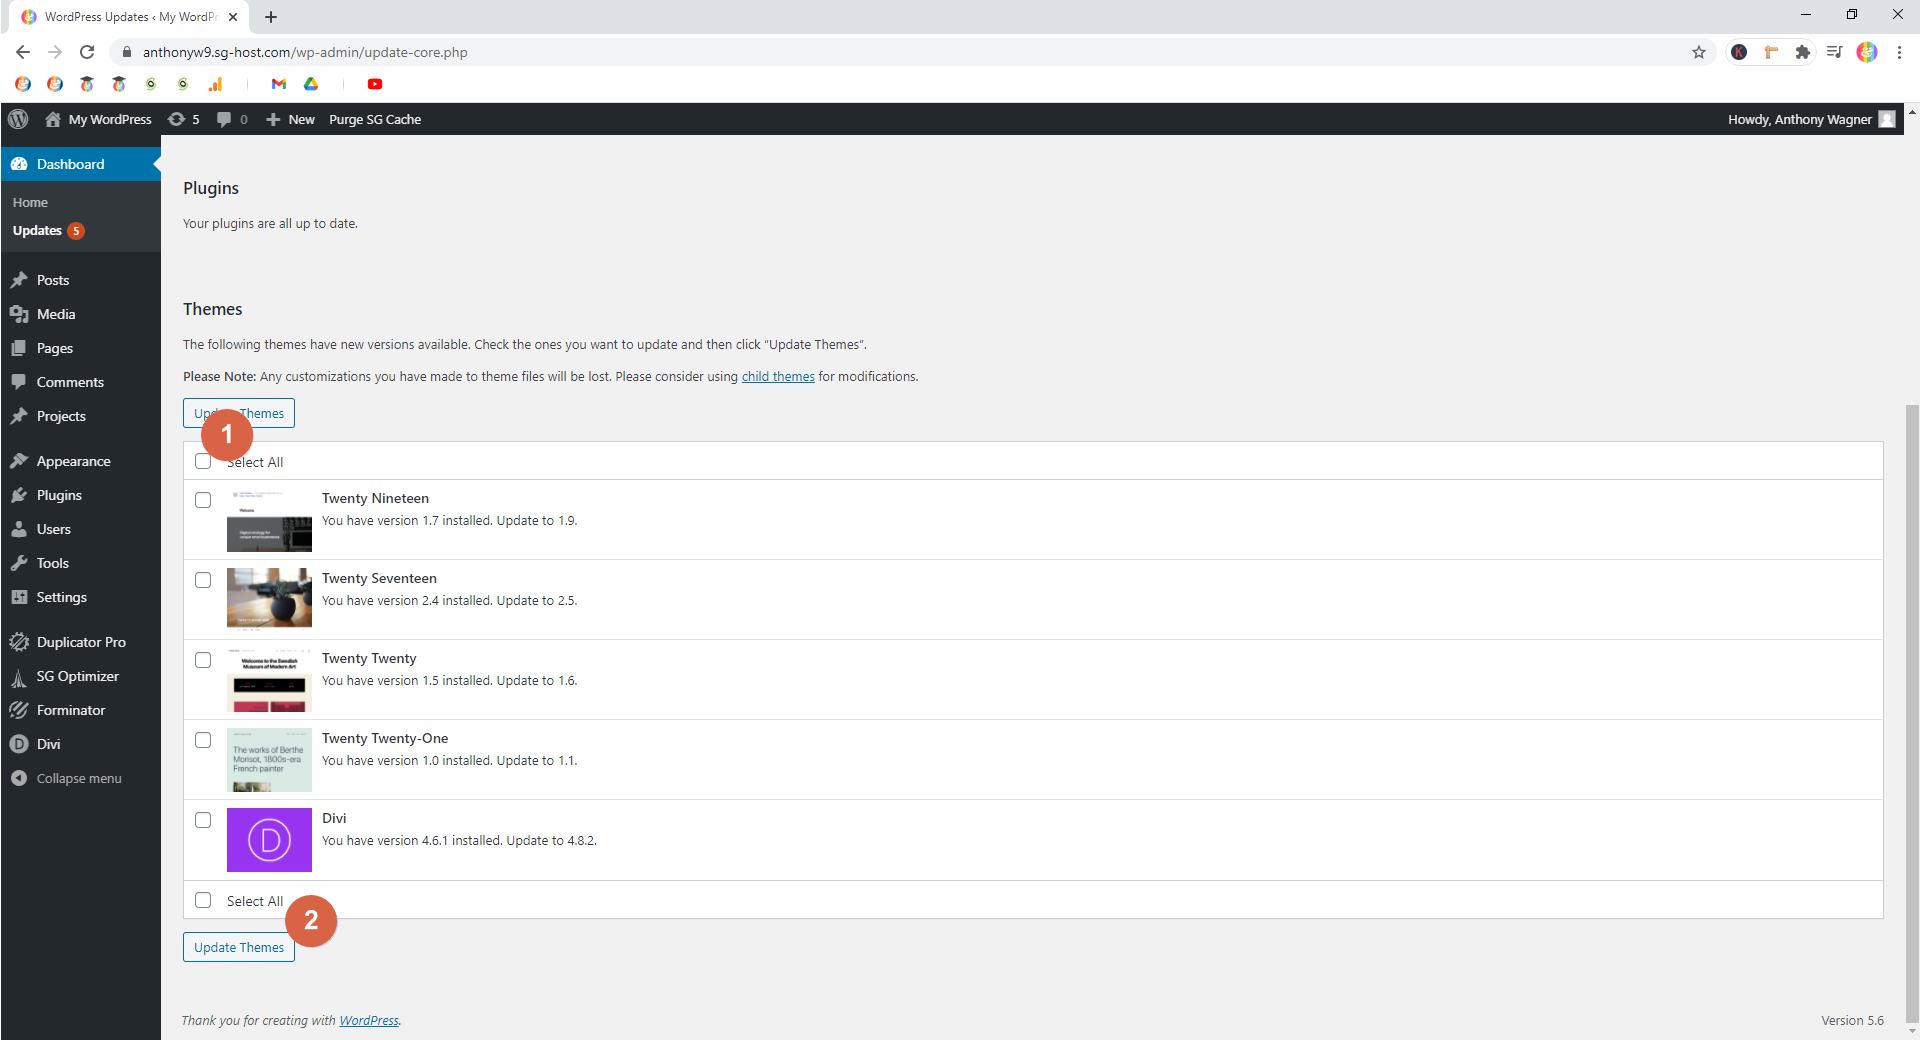
Again, this will take anywhere from 10-30 seconds on average.
Step 2.3 — Check to see if that unfucked your site
Once all of the plugins and themes on your site are up to date, check to see if the problem is gone.
If so, congrats! Stop here. No more WordPress troubleshooting necessary.
If not, continue to the next step.
Check plugins — *Most common fix!*
WordPress Troubleshooting // 3 of 6
As the section heading says, most WordPress problems, and the need for any WordPress troubleshooting at all, arises from conflicts between a plugin and your site, your theme, or another plugin you’ve got installed.
The simplest way to check for this is to temporarily disable all plugins and see if the error resolves.
Here’s how to do that:
Disable all plugins
Disabling all plugins is the place to start.
Step 3.1 — Delete any inactive plugins
Before disabling your plugins, I recommend removing any inactive plugins.
This is good not only for site security, but it makes knowing which plugins to re-enable way easier. If every plugin on your site is an active plugin, they all be back on at the end.
To do this, click to the Plugins page from the WordPress Dashboard.
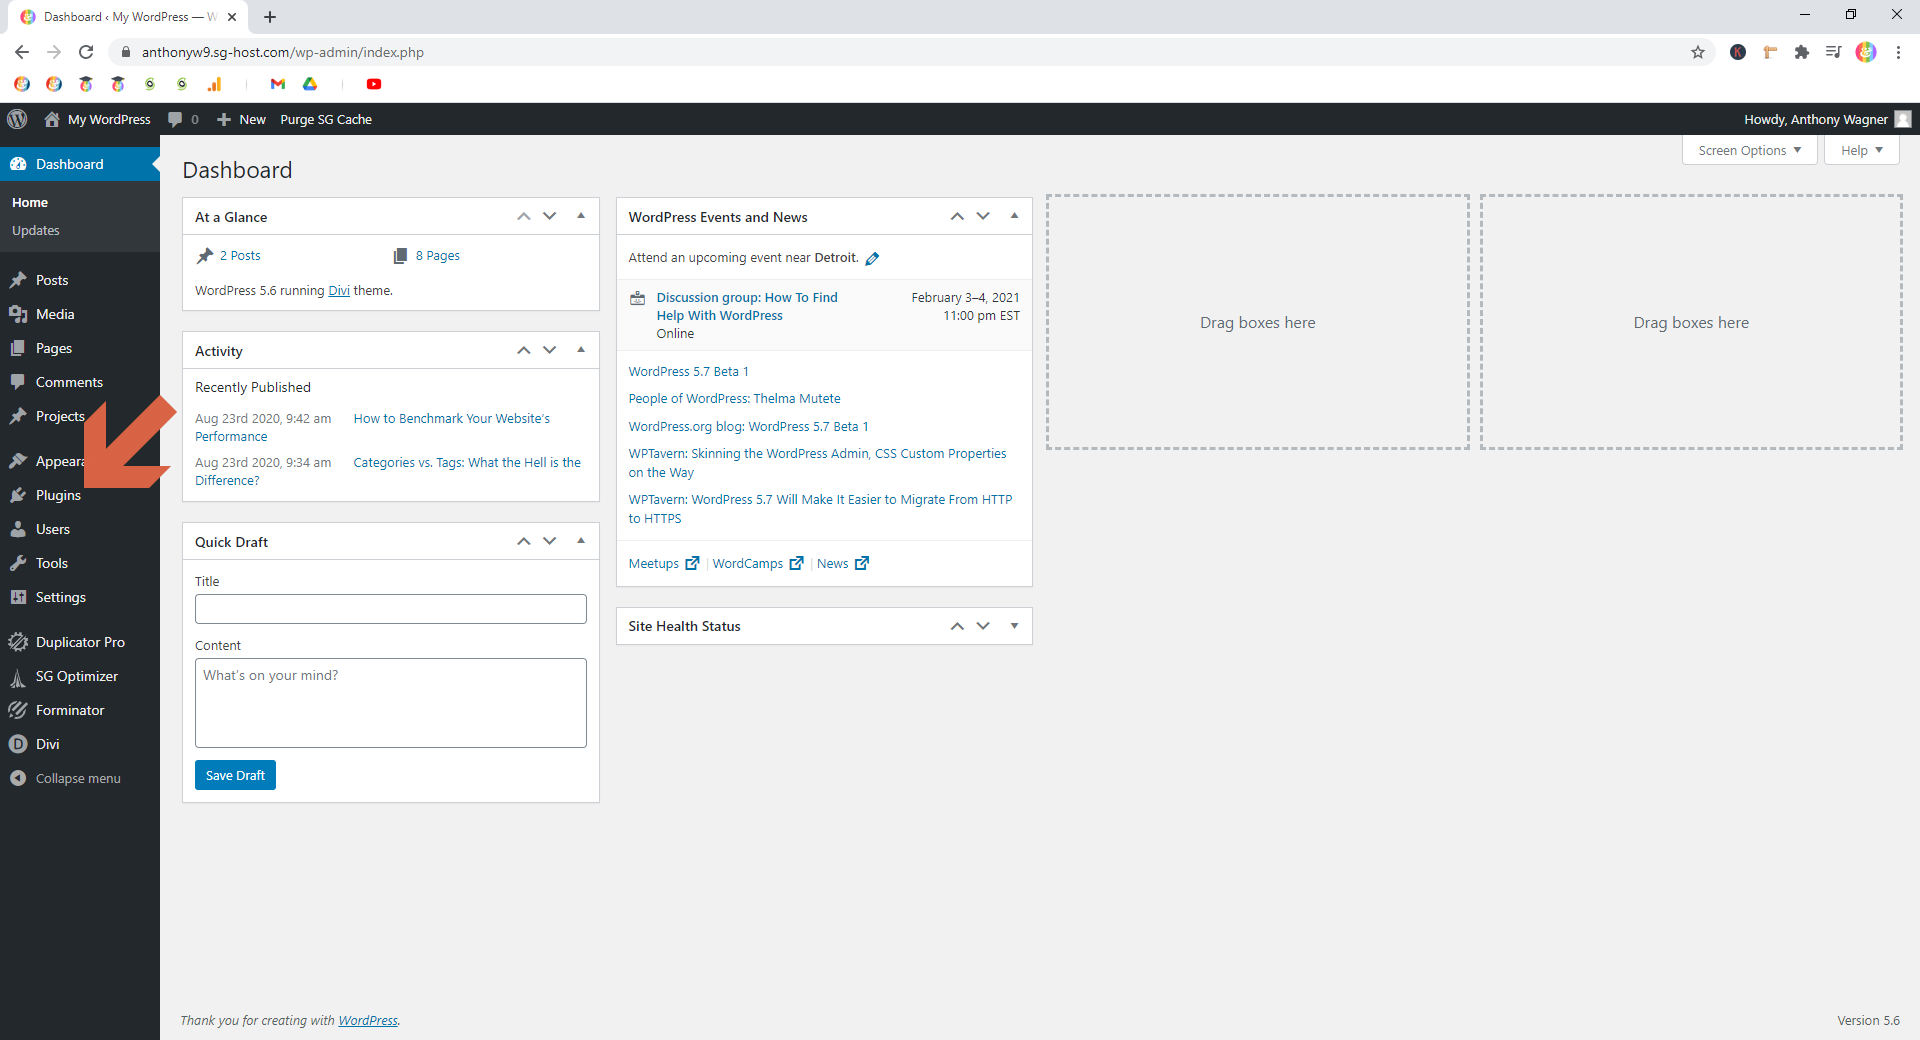
Then, click the Inactive filter.
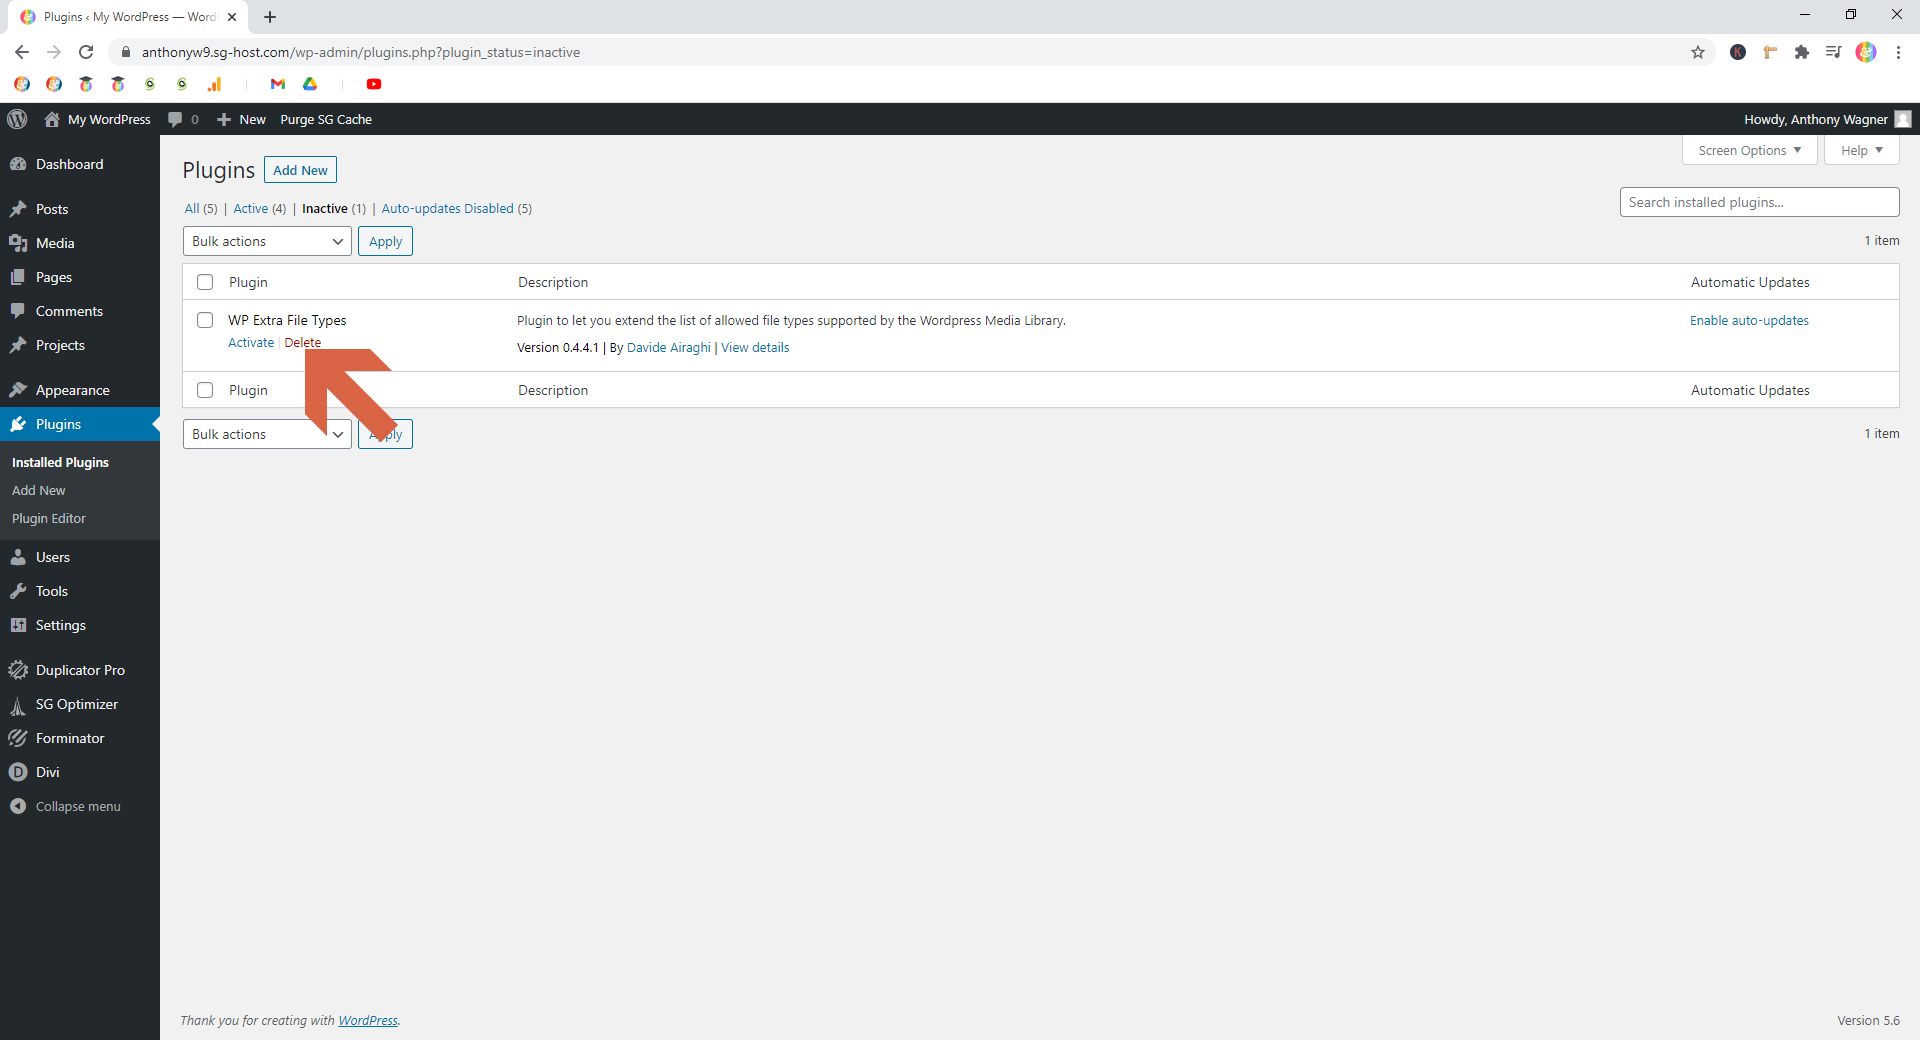
⚠ Note: If you don’t have any inactive plugins, this inactive link won’t show up, and you can skip down to the next step.

Then, for each plugin, click the Delete button and then OK in the dialog box that pops up.
Step 3.2 — Disable all plugins
Head back to the main Plugins page (can click the same Plugins link in the left-hand sidebar).
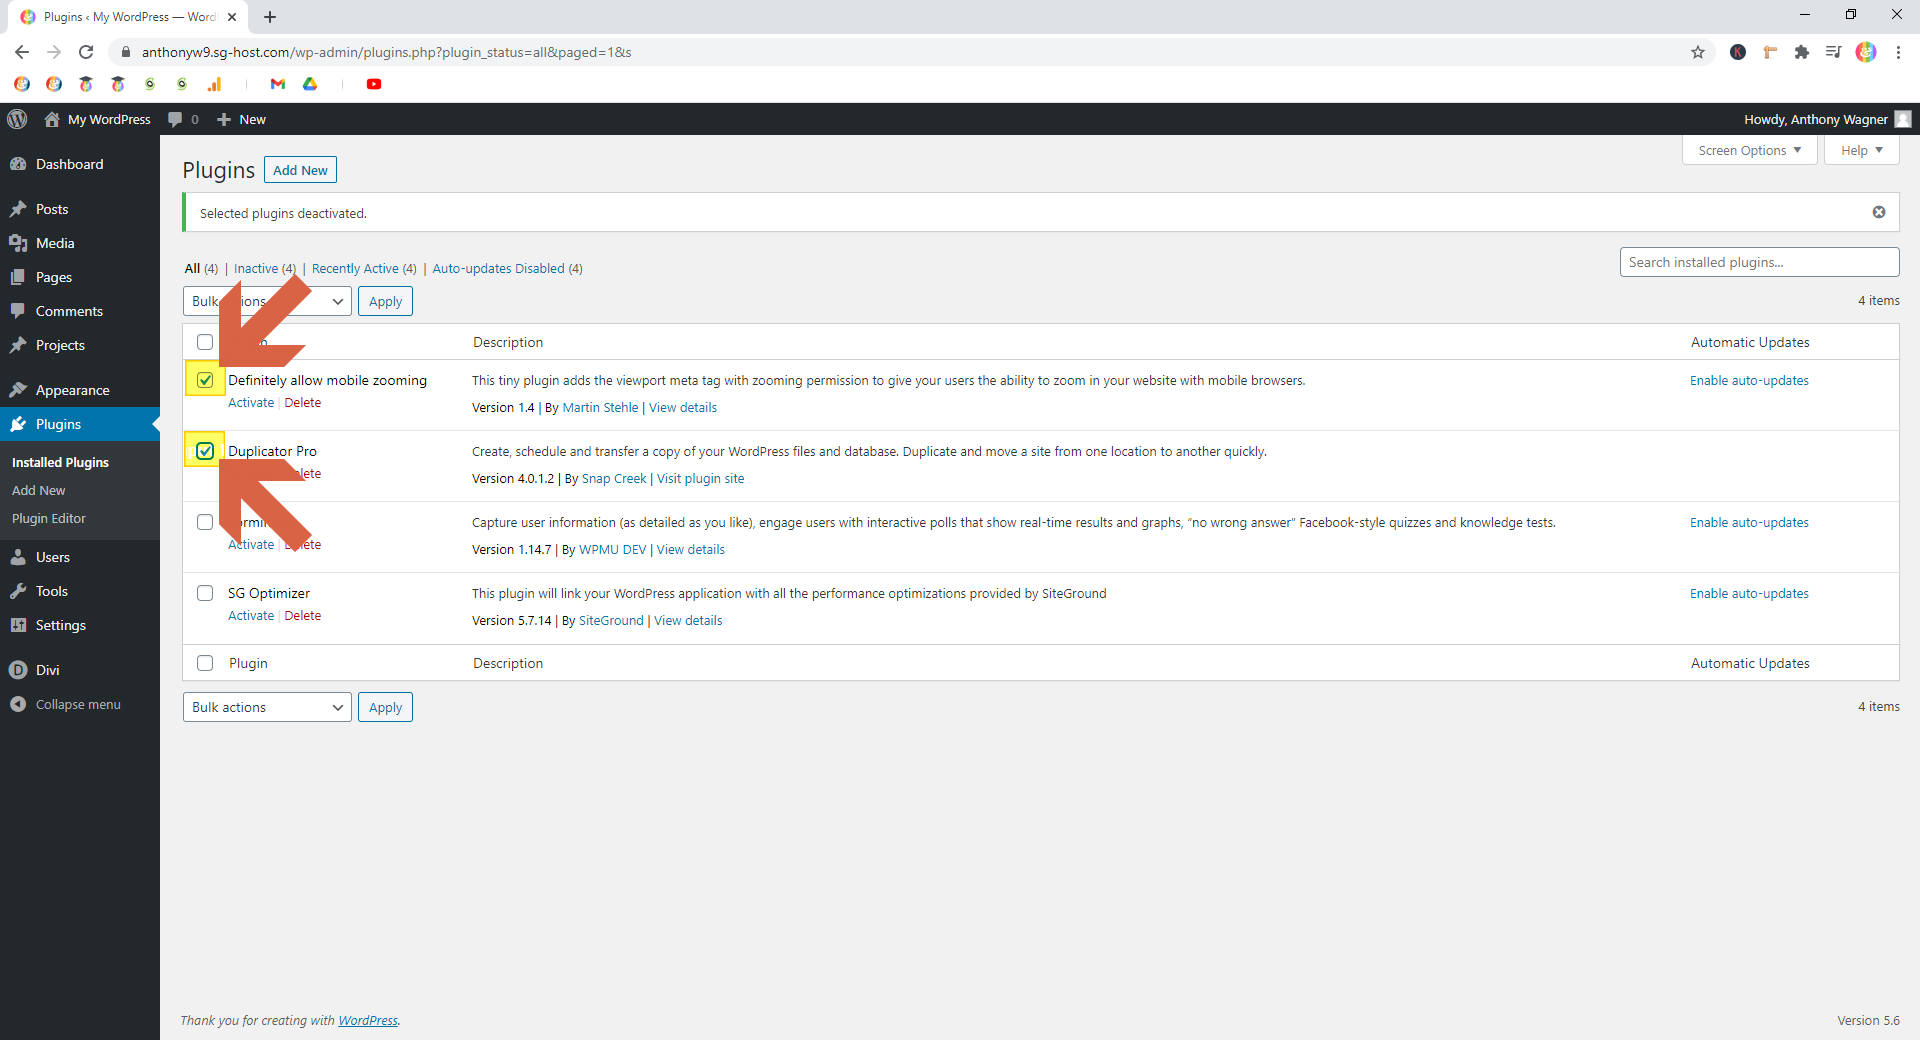
Then, click the select-all checkbox.
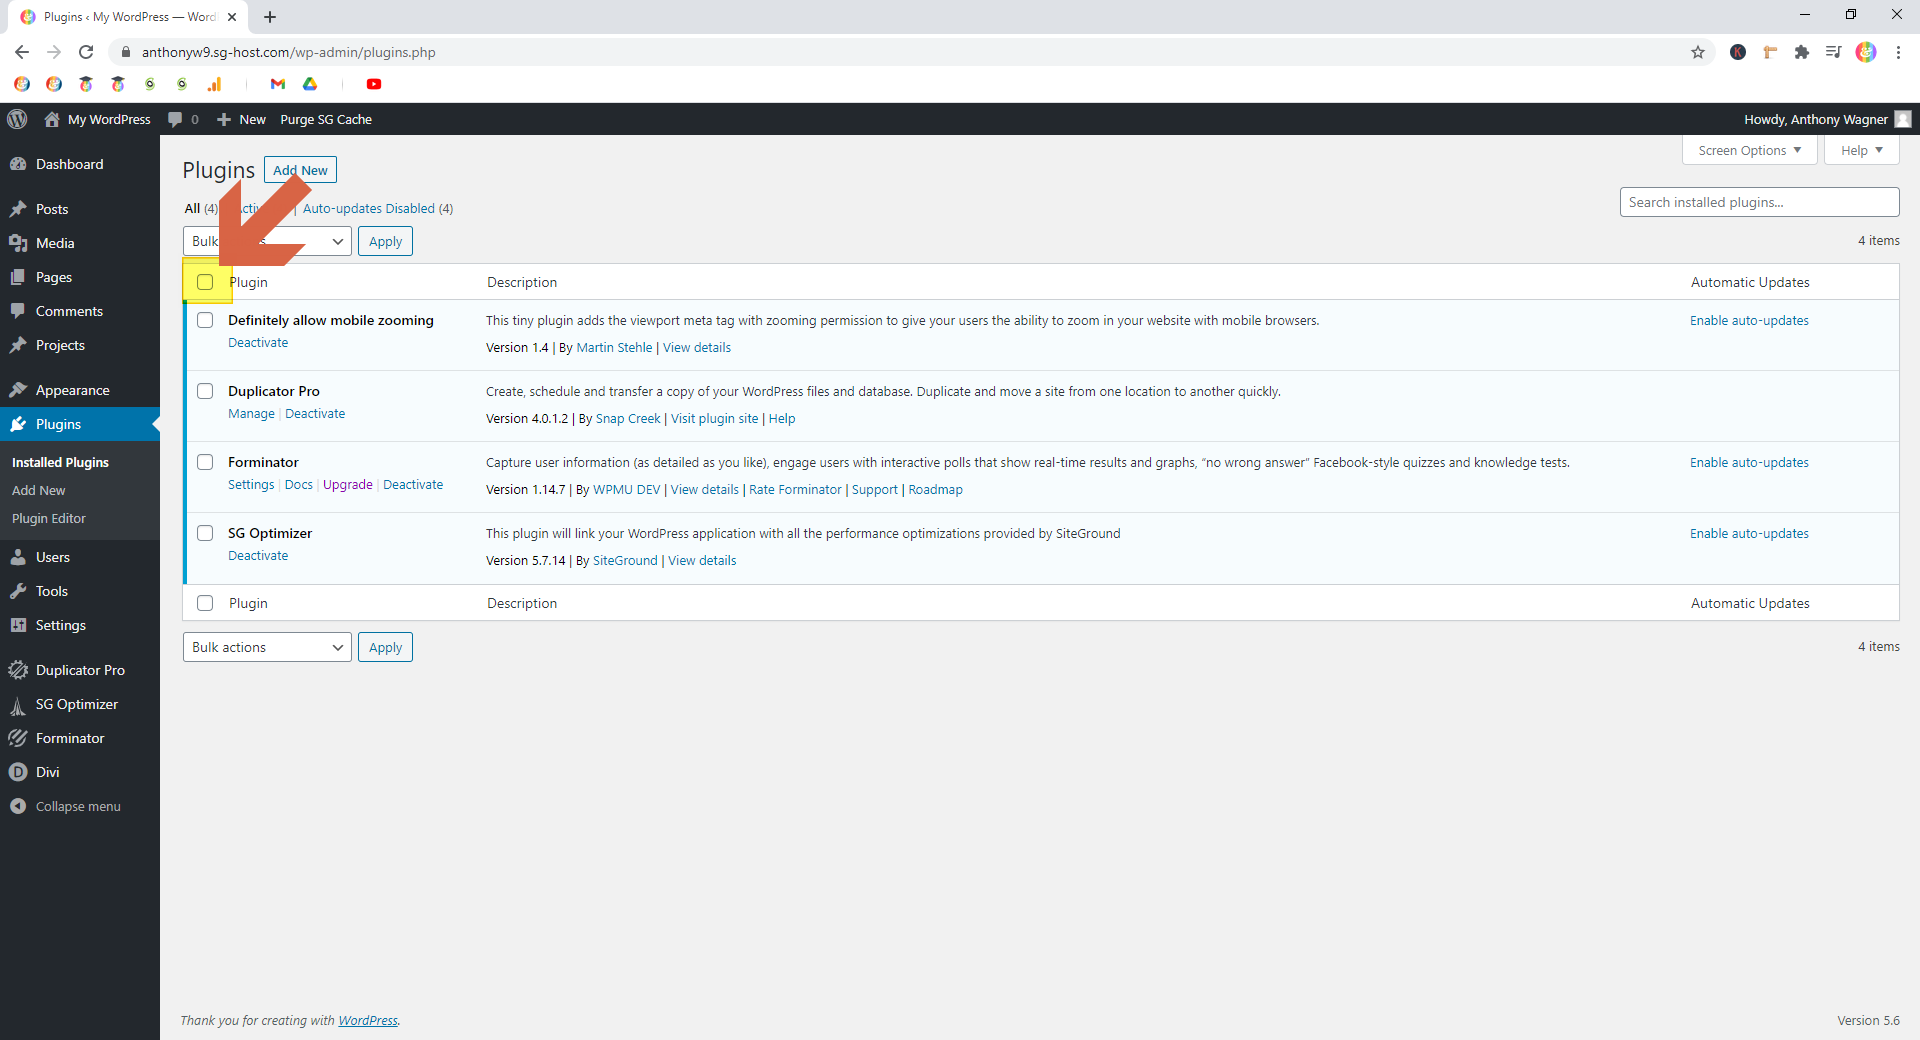
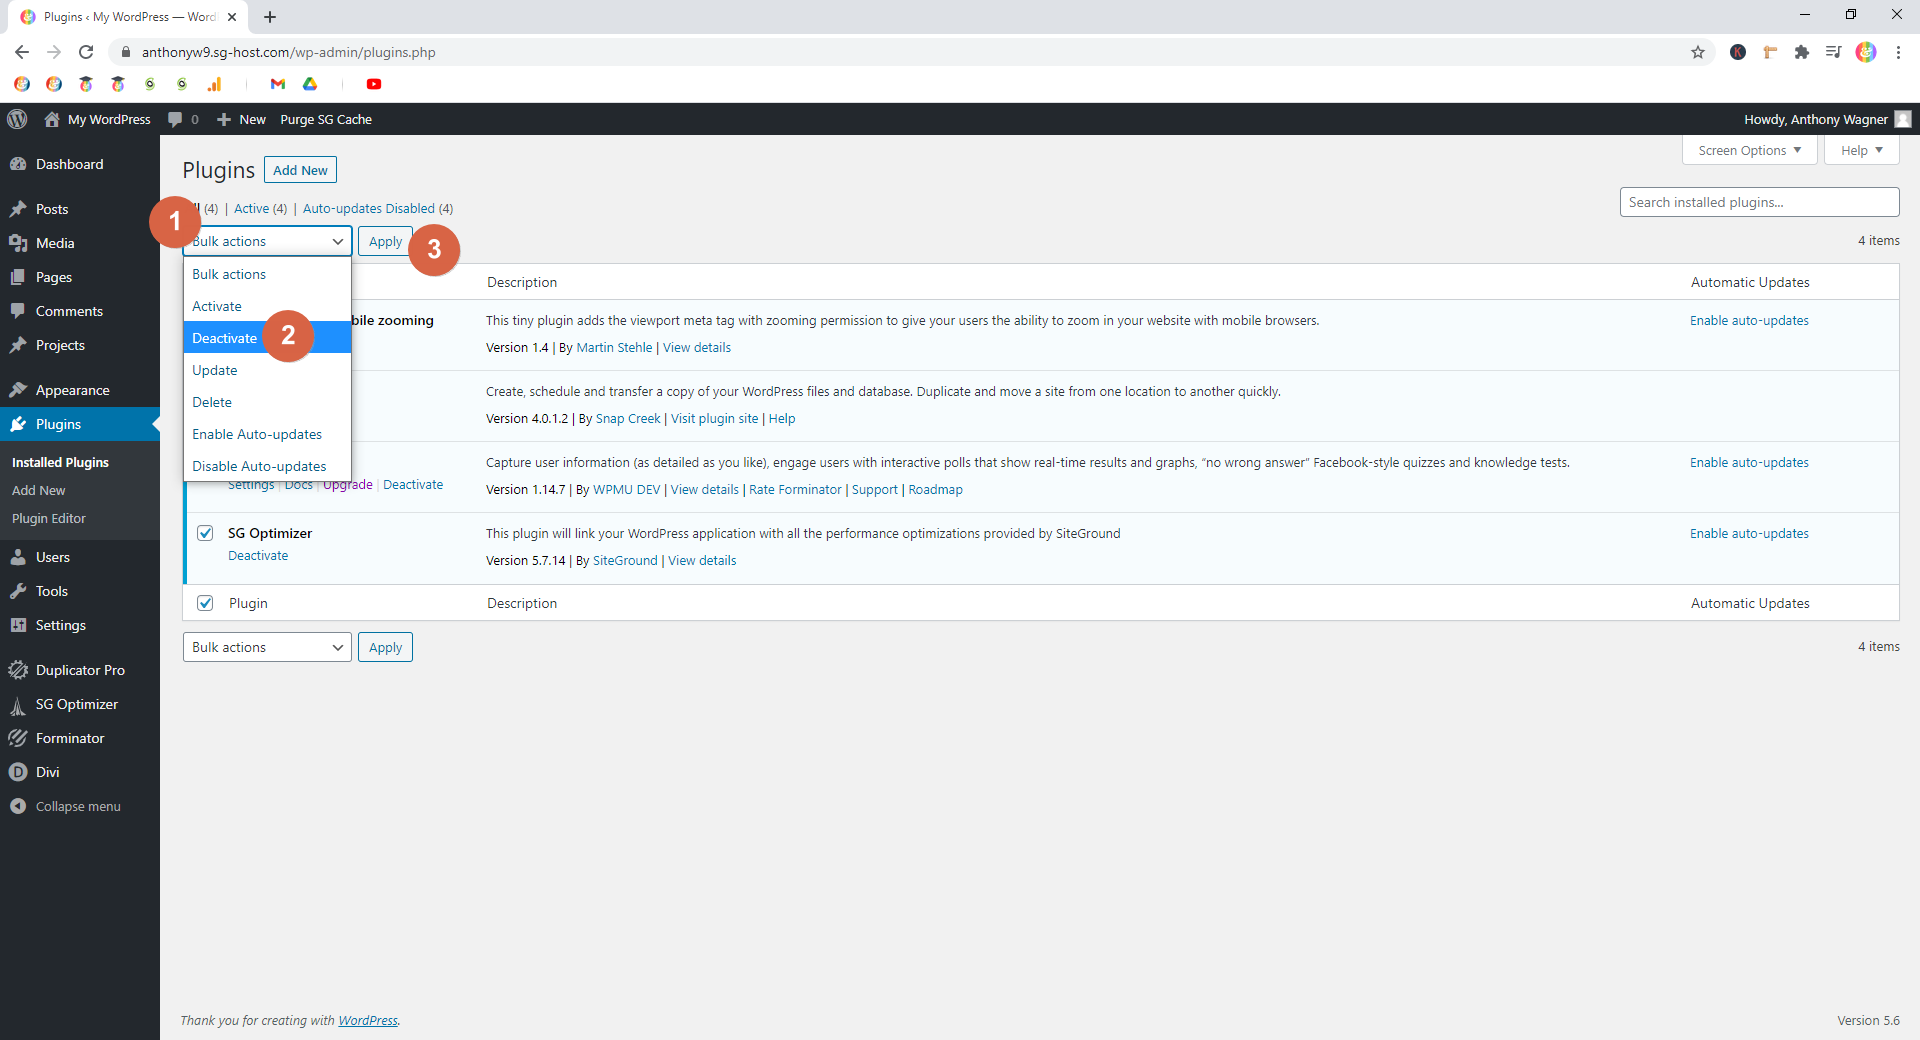
Then, from the Bulk actions dropdown menu, choose Deactivate. Then click Apply.
⚠ Note: This will impact the front-end of your site. If you have users on your site at the time of the change, they may notice missing functionality. Keep calm! It’s only temporary.
Step 3.3 — Check to see if that unfucked your site
Now check to see if the problem is gone.
If so, congrats! You’ve discovered that a plugin is causing the issue. The question is which plugin. To figure this out, head to the next section for my super quick method!
If the problem persists, it means that the issue isn’t coming from a plugin, and you should try the rest of the WordPress troubleshooting tips below.
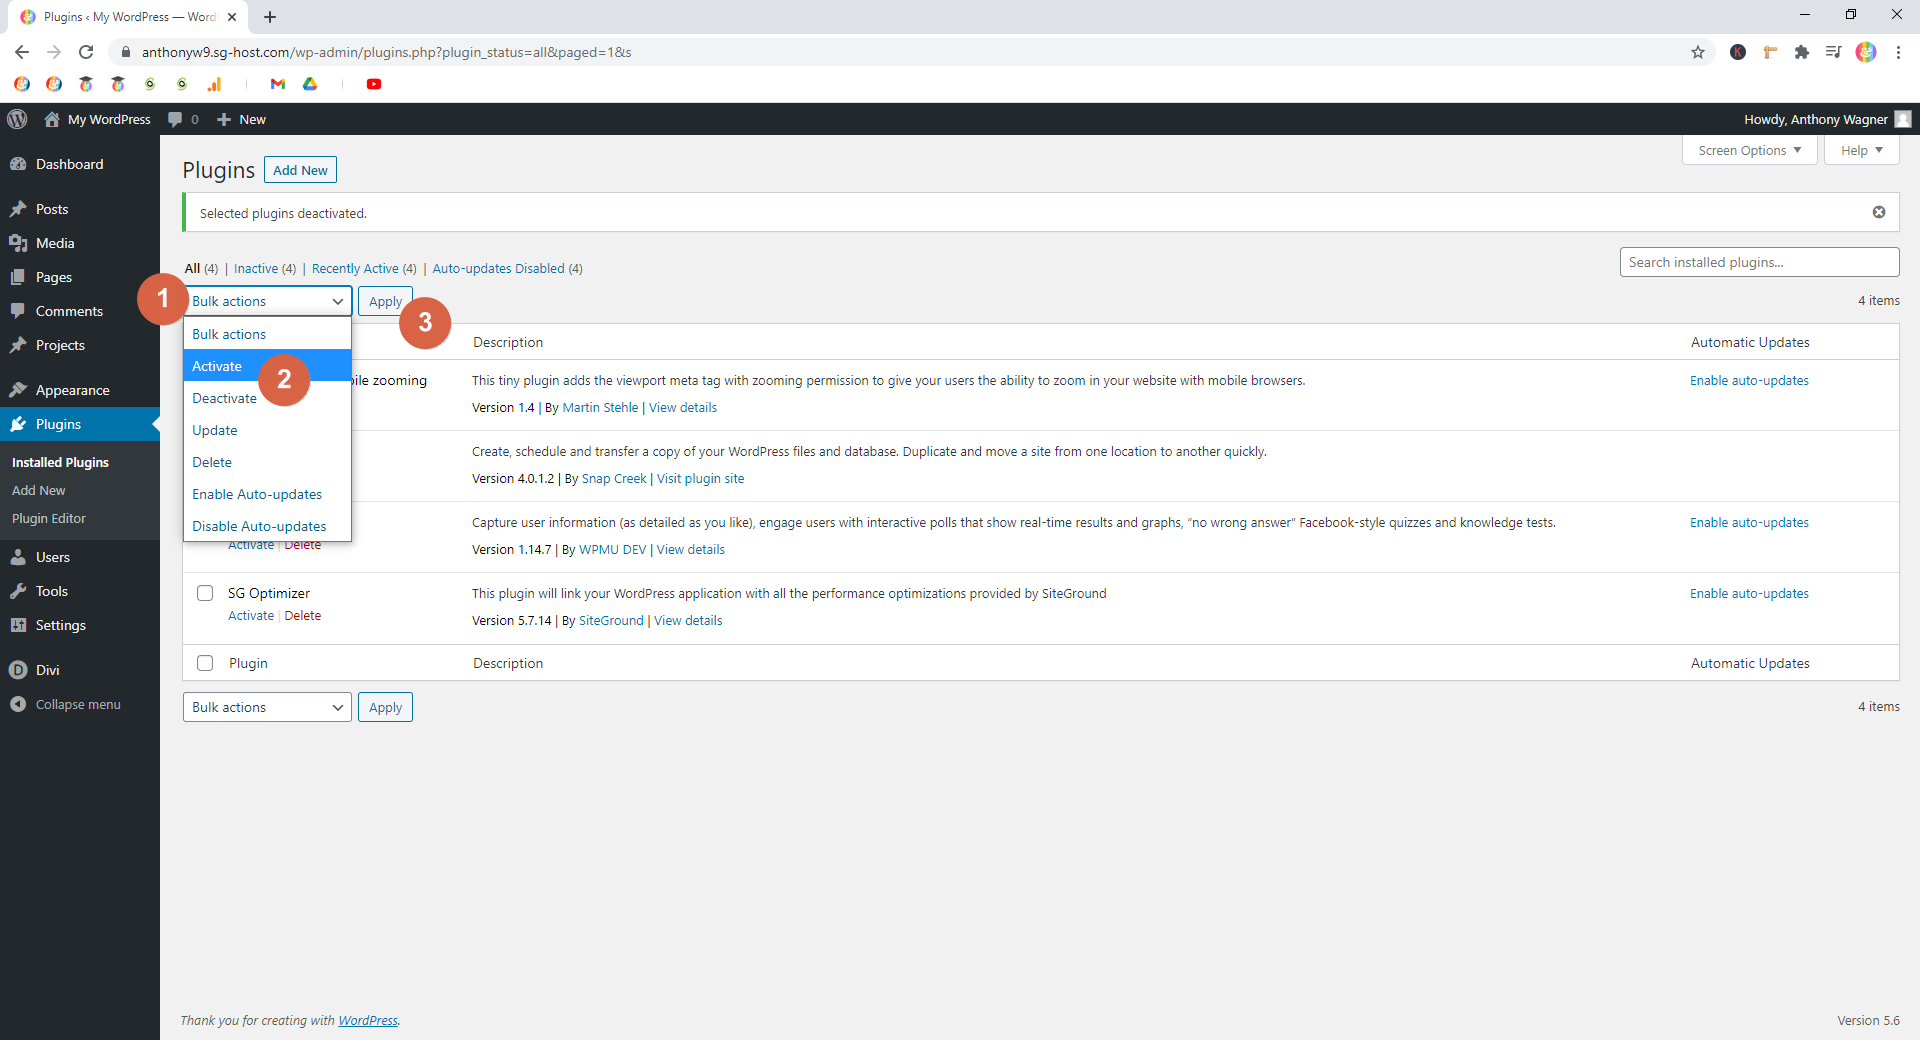
To re-enable all plugins, repeat Step 3.2, but select Activate instead of Deactivate from the dropdown.
If the problem is a plugin, use the Halving Method to quickly figure out which one
The Halving Method is a quick bonus technique for finding problems. It’s often used when coding to help narrow down trouble spots. It’s a WordPress troubleshooting tip within a WordPress troubleshooting tip ?
For our purposes though, it’ll help find problem plugins way faster than checking each one individually.
⚠ Note: This method is especially effective if you’ve got a lot of plugins installed. If you’ve only got a few (like in the screenshots below), checking one-by-one will work as well.
Halving 1 — Enable half of the plugins
First, be sure that your plugins are all disabled. Use Step 3.2 above for help with this.
Next, click the checkbox next to about half of the disabled plugins. (Doesn’t have to be exactly half.)
Then, click the Bulk actions dropdown, choose Activate, and then Apply.
Halving 2 — Check to see if that re-fucked your site
If the problem is back, you know that the problem plugin is in the group of active plugins.
Otherwise, the problem plugin is in the group of disabled plugins.
We’ll call the group of plugins that the problem is in the Trouble Group.
Halving 3 — Repeat 1 and 2 with the Trouble Group
Now, simply repeat Halving 1 and Halving 2 above with the Trouble Group.
The only difference is you’ll toggle half of the Trouble Group to the opposite state (i.e., if the Trouble Group is all active plugins, toggle half to inactive, or vice versa).
Keep doing this until you identify the problem plugin!
Temporarily switch to another theme
WordPress Troubleshooting // 4 of 6
If the problem persists after checking your plugins, the next thing to check is your theme.
You can do this by temporarily switching from the theme you’re using to a different one. Ideally, you’d switch back to one of the WordPress defaults.
By the way, I’d recommend that you leave all plugins disabled while you try this.
⚠ Note: The WordPress default themes are always the names of the years, but spelled out. e.g., Twenty Twenty-one, Twenty Twenty, Twenty Nineteen, etc.
Here’s how to switch:
Step 4.1 — Go to the Themes dashboard
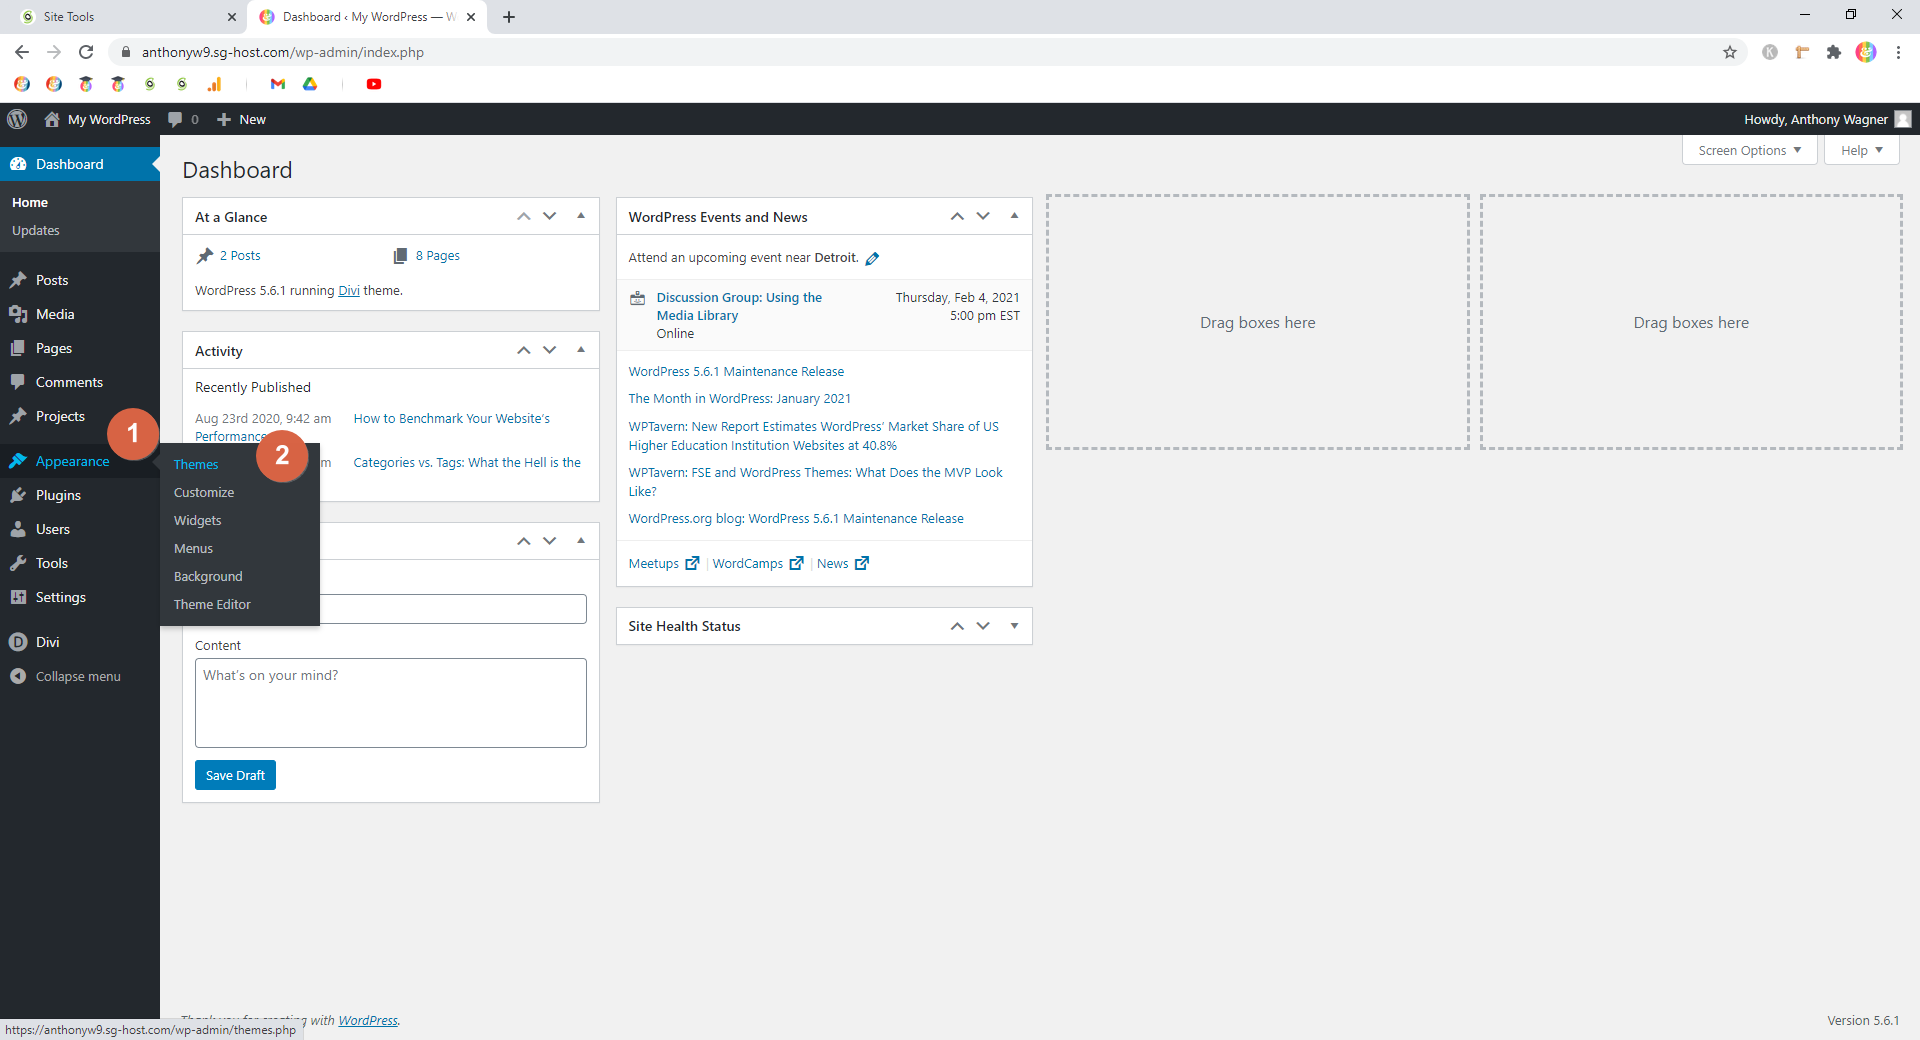
In the WordPress sidebar, click Appearance > Themes.
Step 4.2 — Activate a different theme
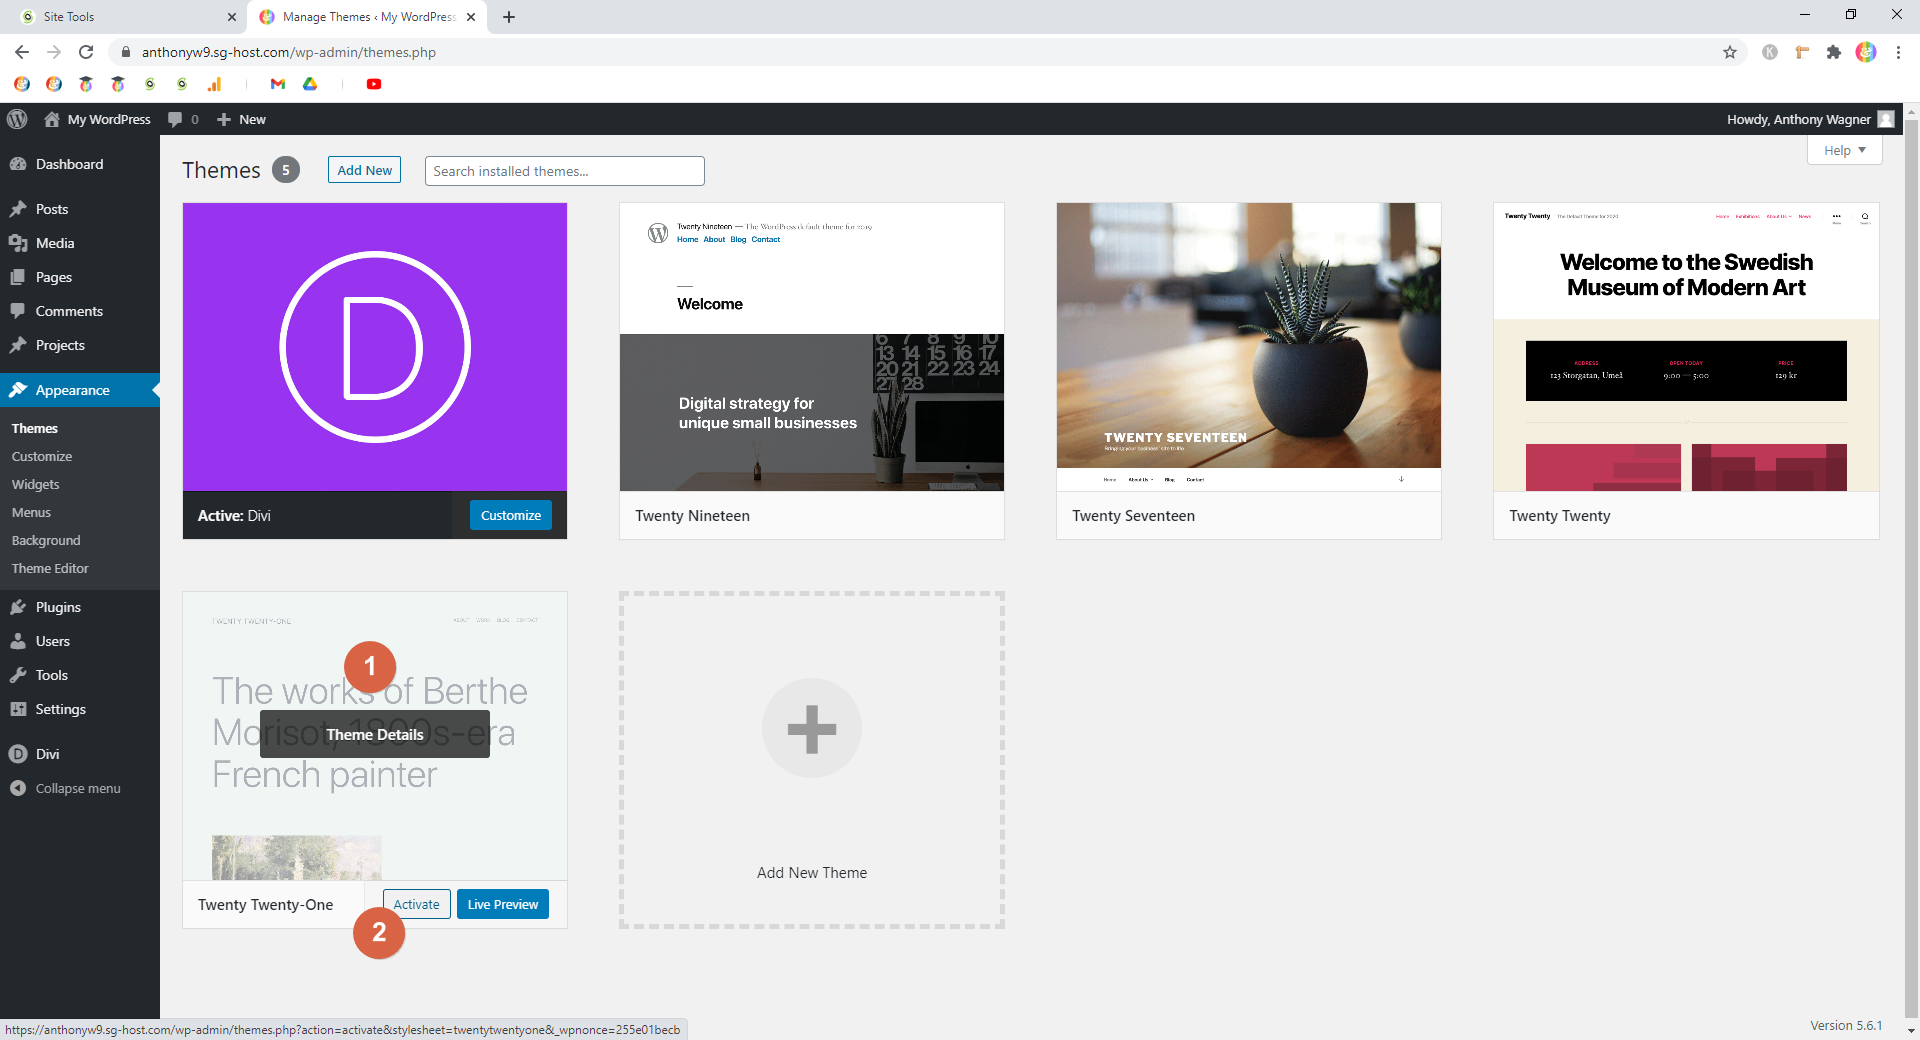
Your active theme will appear in the upper-left corner of the grid.
To check if the theme is causing the problem, activate another one. Ideally, you’ll use the most-current default theme. At the time of writing, that theme is Twenty Twenty-One.
To activate it, hover over it, and click Activate.
⚠ Note: Keep in mind that this will affect your live site, and any users will see the change. But, it’s just temporary, and you can change it back quickly.
Step 4.3 — Check to see if that unfucked your site
See if you can reproduce the problem with the new theme activated.
If so, congrats! You’ve found the problem!
If not, continue to the next step.
Step 4.4 — Reactivate your original theme
Once you’re done testing, be sure you reactivate your original theme.
Repeat the Steps 4.1 and 4.2, but activate your original theme instead.
Restore a previous backup
WordPress Troubleshooting // 5 of 6
If you’ve made it this far and haven’t located the problem, now might be the time to consider restoring a backup.
If you know when your site last functioned normally, you should select a backup that was made prior to that.
Instructions get a bit tricky here
Actual steps will vary depending on how you’re taking backups (you are taking backups at least daily, right?).
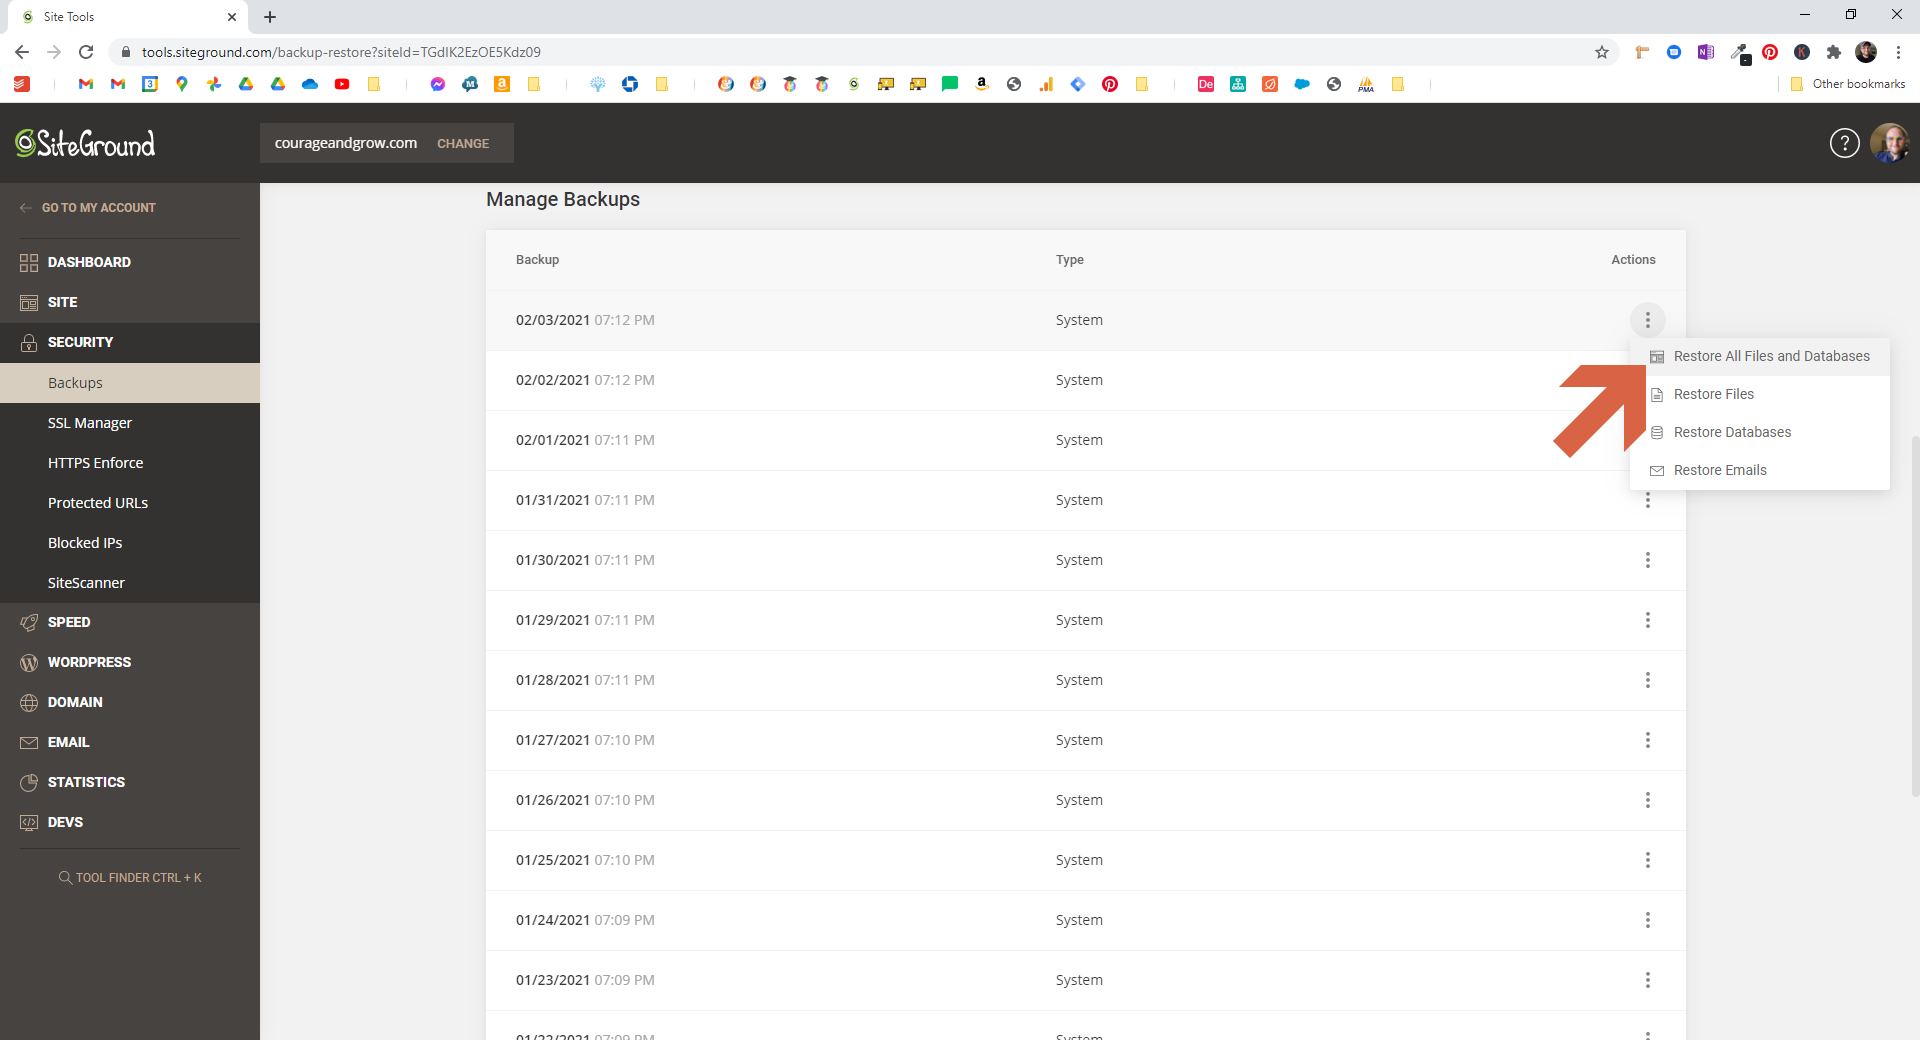
At minimum, your Hosting provider may have a backup solution that’s automatically enabled.
SiteGround, my preferred Hosting platform, takes automatic backups daily, and those backups can be restored with a single click.
If you’re curious to know more about why I pick SiteGround, take a look at my post on it.
Using quotes, Google the exact error
WordPress Troubleshooting // 6 of 6
Most WordPress problems are common. So common that they’ve been solved in lots of other blog posts and articles.
When I get stuck with a problem, a quick Google search is one of my go-to strategies.
A handy trick for improving your searches is to wrap the exact error in quotes.
A quick example:
Here’s a common WordPress error:

If I were unsure about how to solve this, I’d drop the following search into Google:
wordpress, "error establishing a database connection"
I did a couple things here:
First, I added “wordpress” to the beginning. This helps focus results on WordPress.
And second, I included the exact error, and I wrapped it in quotes. This forces Google to look for that phrase exactly.
⚠ Note: The comma is ignored by Google — it’s just a habit of mine to include it. Also, capital/lowercase letters don’t matter.
At this point, browse the first few results and see if they point you in the right direction.
Still stuck? Leave a comment!
If you’ve tried all of these WordPress troubleshooting steps and you’re still stuck, give me a shout in the comments below.
I will try my best to help guide you!
And, if the problem is bigger than the scope of the comments section, we can chat one-on-one about additional, and more advanced, WordPress troubleshooting tips for getting the problem fixed. In this case, head over to the Contact page and drop me a note!


0 Comments